Birds have always been my passion and bird photography is the best way to observe birds! With every photograph you take, you can go back in time and remember that moment.
Here are some basic settings and tips to improve your bird pictures!
1. Always shoot in RAW format
Shooting in Raw format is the most important and basic setting you need! I missed this one in my first months of photography and afterwards, when I found out what post-processing can do, I was blown away! Bird photography will get much easier when you shoot in RAW because you can focus on the bird itself and not too much on the settings. Highlights, shadows, contrast, white balance, texture and a lot of other things can be corrected successfully in post on Raw file. The one thing you'll notice is that you will run out of space really fast. Your camera captures a lot of details in a RAW format and the file is huge! You'll need to invest in memory cards considerably.
2. Use auto-focus and select the small focusing area from the center of the view finder
First of all you'll have to get acquainted really well with your camera settings. You need to know how to switch from one focusing area to another and setup a quick button for doing this. For birds that are not in flight and don't move too much, most common setting is to use the focusing area of just a few focusing points from the center area, with one primary focusing point. Now you'll get to control where you are focusing. There is also one point in the center that you can use, but I find this one less accurate.
3. Always try to focus on the eye of the bird!
This one is very important and not just for bird photography, but for any living creature that you might photograph, including humans. A bird picture looks terrible if the eye is not in focus! With the auto-focus settings from above you can easily do this.
4. Get as low as possible
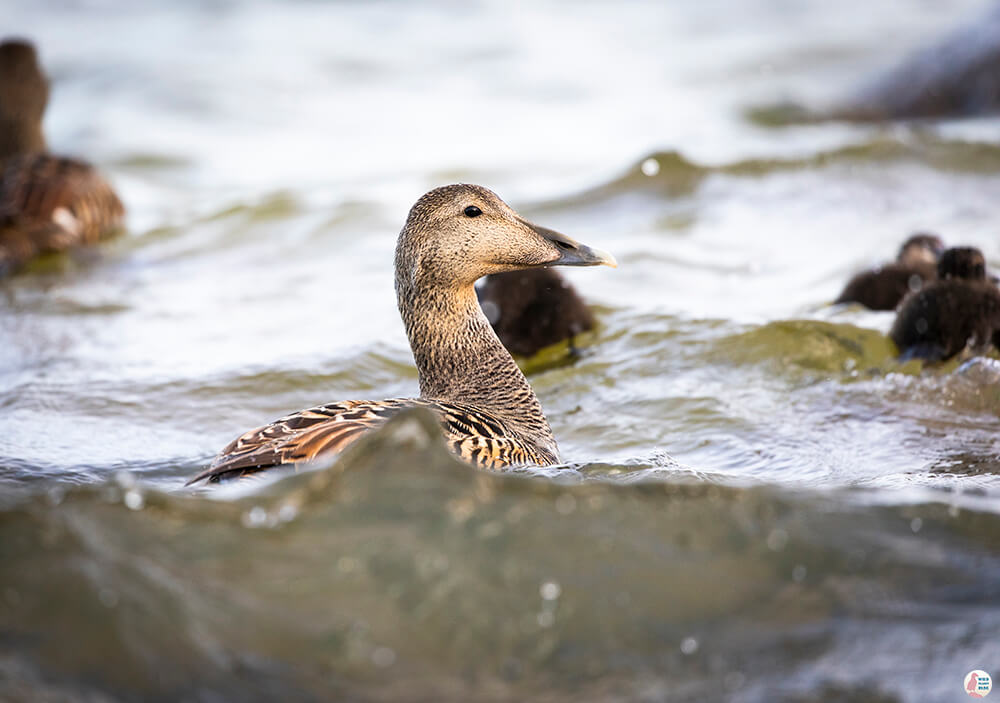
In order to give your bird pictures a "close and personal" touch you need your camera to be at the same height as the eye of the bird. For example: if you see a duck on the surface of the water, you will want to get your camera as close to the water as possible.
5. Set your camera to a fix shutter speed, lowest aperture available and ISO to auto
Animals, and especially birds, move fast! You need to make sure that your shutter speed is fast enough to capture their movements without blur! Also the shutter speed depends on how big is the focal length of your lens, whether your lens has image stabilisation, whether you are using a tripod or not or how steady your hand is. There are many factors that you need to consider, so it's good to make some practice tests on common birds, before you go shooting something special. Depending on your camera, the highest ISO you can have for a good picture varies a lot! There are programs that can take the noise out in post, but you need to be careful with that, since too much denoise will make your image blurry. I recommend Topaz DeNoise as a tool. It's much better than photoshop!
6. Try to find the sparkle in the eye
All creatures look better when there is a sparkle in the eye, otherwise they look like dead. Try to photograph the bird from an angle where the eye is not in the shadow.
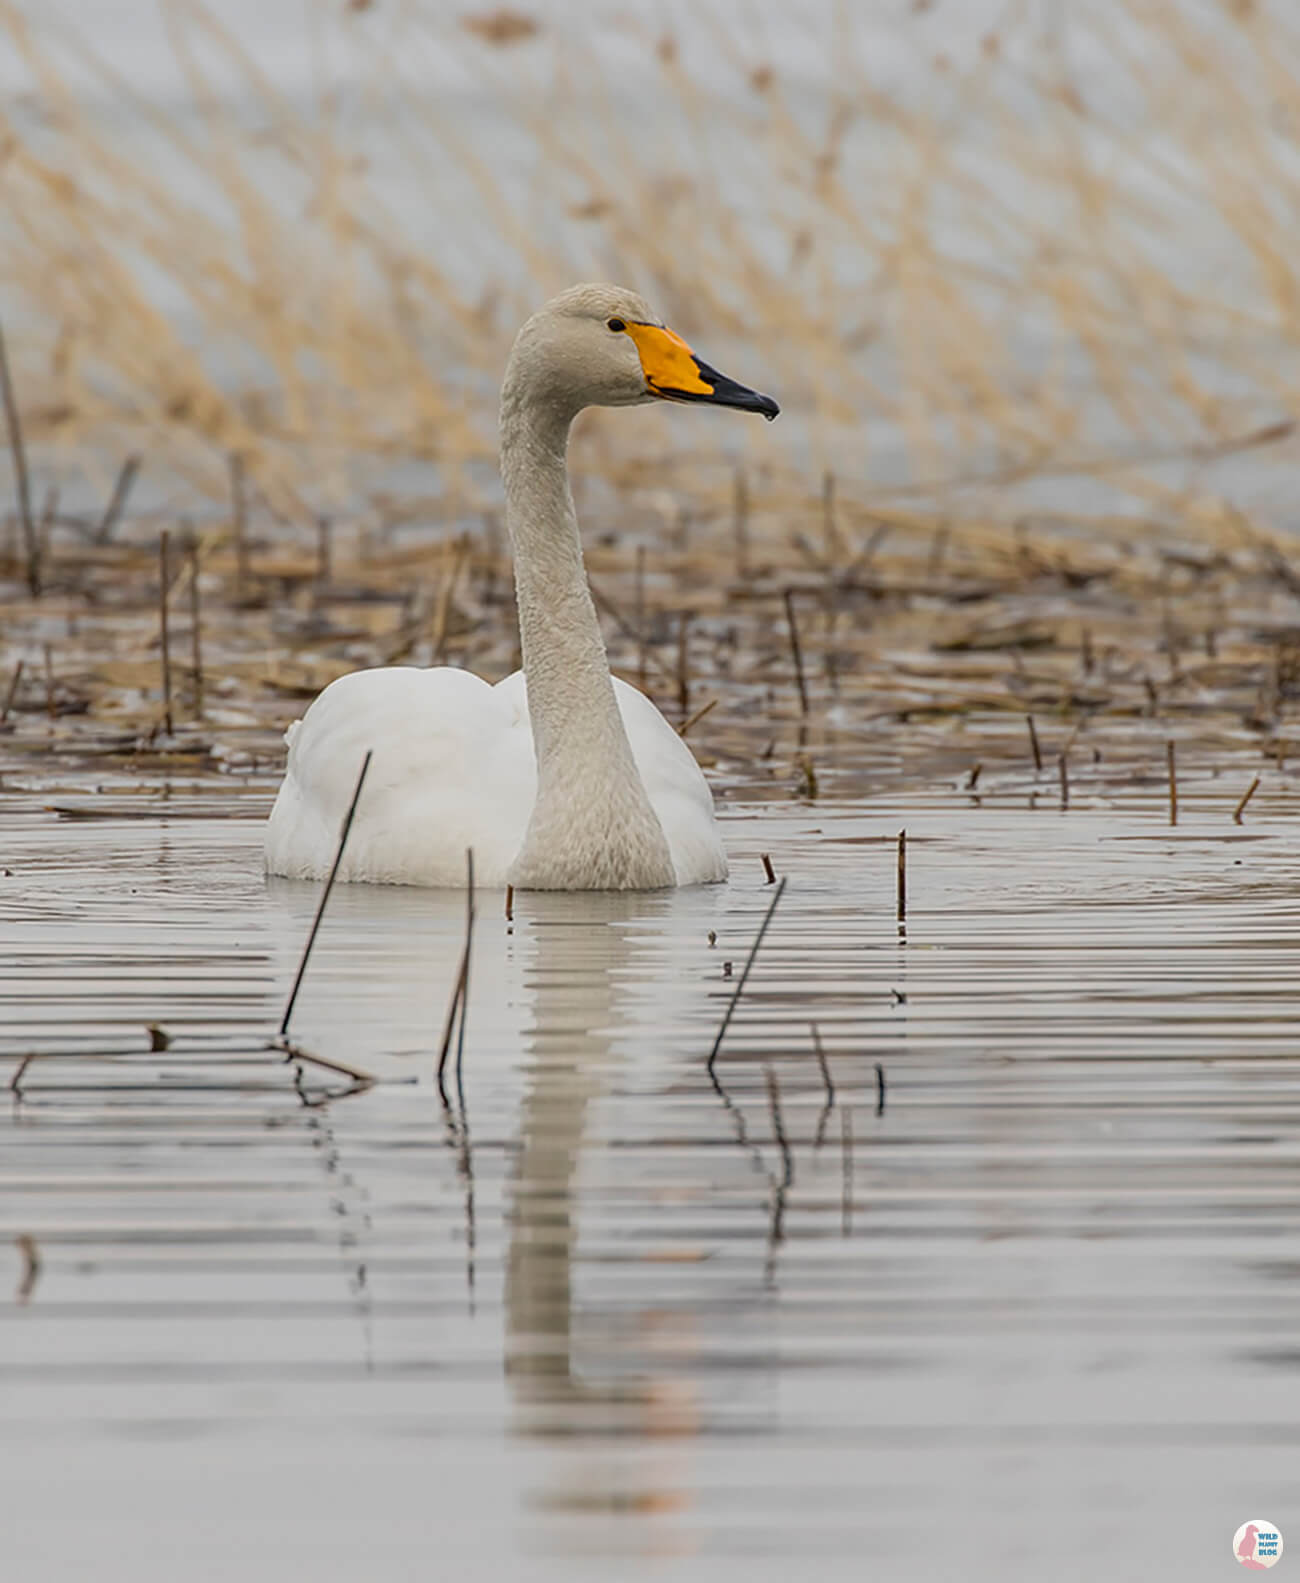
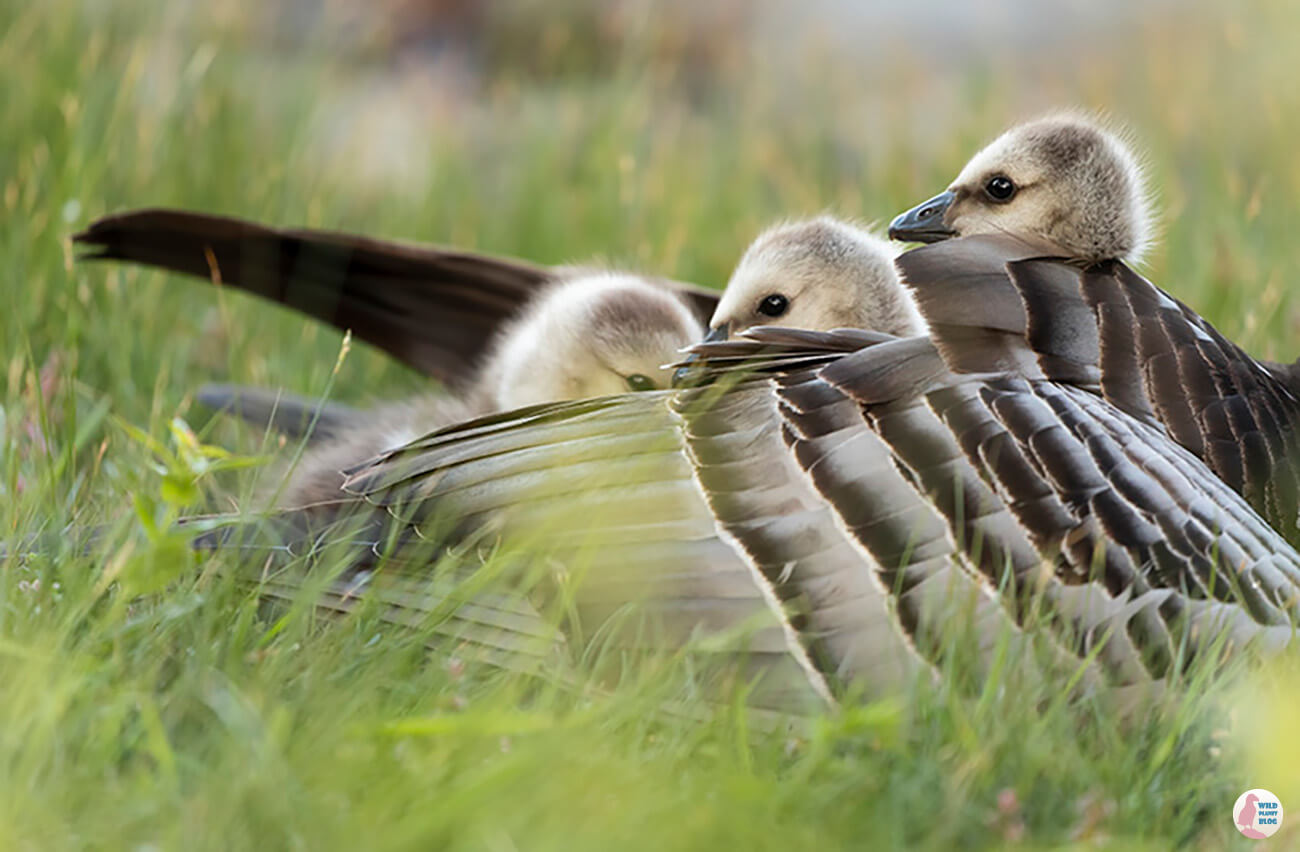
Here are 2 pictures, where you can see that the sparkle in the eye makes a huge difference. The first doesn't have any sparkle, so it looks a bit like the swan is stuffed. In the second picture all the goslings have light in their eyes and it makes them look alive.
7. Shoot with high speed continuous, even if the bird is not moving too much
To make sure that your focus is good and that there is no camera shake it's a good idea to take at least 3 or 4 shots using the high speed continuous settings. It might be a bit more laborsome afterwards to process your picture, but you'll make sure that you have at least one good photo! Some cameras may slow down considerably for a while after taking a burst of shots until they can process them all. You need to buy a very fast memory cards that will help the camera to save your RAW files fast. If your camera supports it the Compact Fast Memory Cards are the best, especially SanDisk!
8. Know when to change your focusing area and your shutter speed settings
Shooting birds in flight is very tricky and most of us get disappointed when we get home and we see that out of 1000 pictures, only 2 are properly focus (if even that...). The rule of focusing on the eye still applies, but it's very difficult for you to follow the bird while flying and to focus on the eye in the same time! Panning is a skill that takes years of practice and it's really really difficult! To make things a bit easier at the beginning, you need to change your focusing area to include all the focusing points that your camera has. Also the shutter speed needs to be anything from 2000 to even 4000. Some blur around the wings is normal and in some cases it might make a really nice effect, but the birds eye still needs to be well focused and clear!
9. Learn to post-process
When I started this I thought people get those beautiful pictures straight from the camera, and while that might be true in some cases, I have learned that in most of the cases it's not! Everyone post-process their pictures at least a little! So get yourself a photoshop subscription and get rolling! You'll find out that a lot of your time goes in from of the computer, trying to learn different techniques and find the best combination of settings for your picture.
10. Invest in your equipment
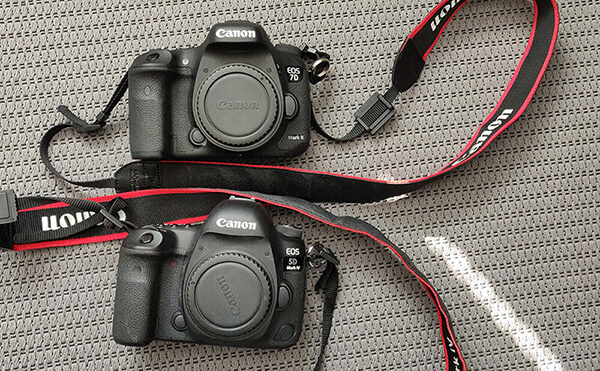
They say that a great photographer is not defined by his/her gear and that you can take great pictures with cheap equipment as well. I do agree with that statement mostly, but a good equipment makes your job so much easier and your chances of getting an awesome picture increases significantly when you have a great equipment. Unfortunately great equipment is very very expensive, but if you check the winners of the photo competitions, you'll see that almost all the winning images are taken with high end cameras and very expensive lenses.
11. Have patience and take your time to learn
Truth is that you won't become an awesome bird photographer in one month, you need a lot of practice and a lot of patience. You need to go out at sunrise and sunset to take your pictures, you'll have to go through a lot of bad pictures to get a good one, you'll have to know the best places to find the birds and you need to learn the bird's behaviour. If you love birds a lot probably you'll have no problem at all with all this. If a bird is far away, just stay still for some time until the bird gets used to you and then it might come a bit closer.
12. Try to remote control your camera
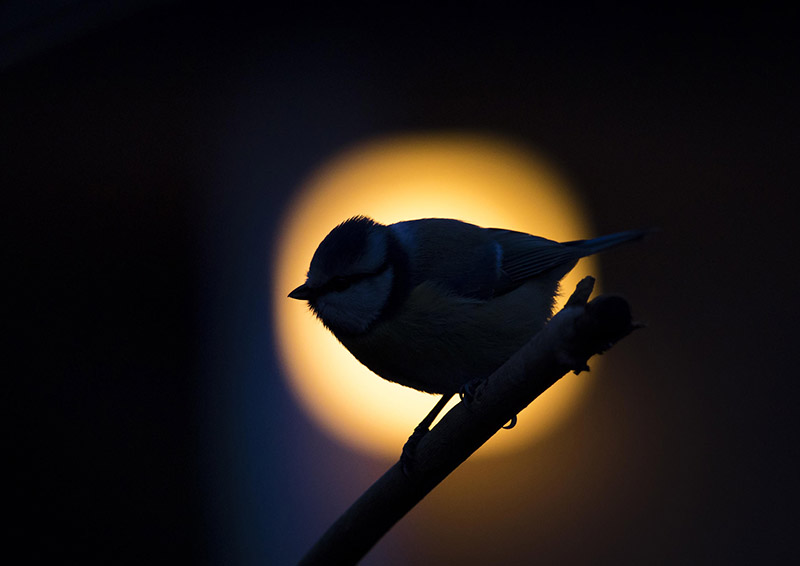
The "early bird" picture from above is taken using a tripod and a remote camera, triggered by phone and it took about one week of failed pictures to get. It needed a lot of planning, pre-focusing using a plush toy and getting to know the bird behaviour! If I would have been outside in my yard trying to get this the birds wouldn't have landed on that branch. The picture was shortlisted for Bird Photographer of the Year 2019!
I hope these tips are useful for you and turn you into a better bird photographer! Remember to never give up! A really good picture might take months or even years to get!
