How to get to Railay Bay?
The popular “4 islands” tour in Krabi will make a stop at Railay, however you only have about 1 h to explore this wonderful bay and it’s definitely not enough! Not to mention that there will be huge amount of people there at the same time… this is why I suggest to explore Railay Bay by yourself!
From Ao Nang you can just take a boat from any of the boat operators on the beach. We visited Ao Nang in February 2020 and the ticket was just 100 Baht/person one way. If you have your journey planned already, I advise to buy a ticket also for the return because it is a bit difficult to find the correct person who sells the tickets at Railay Beach. You can also start your journey from Tonsai Beach (see route suggestion section below).
When to Explore Railay Bay?
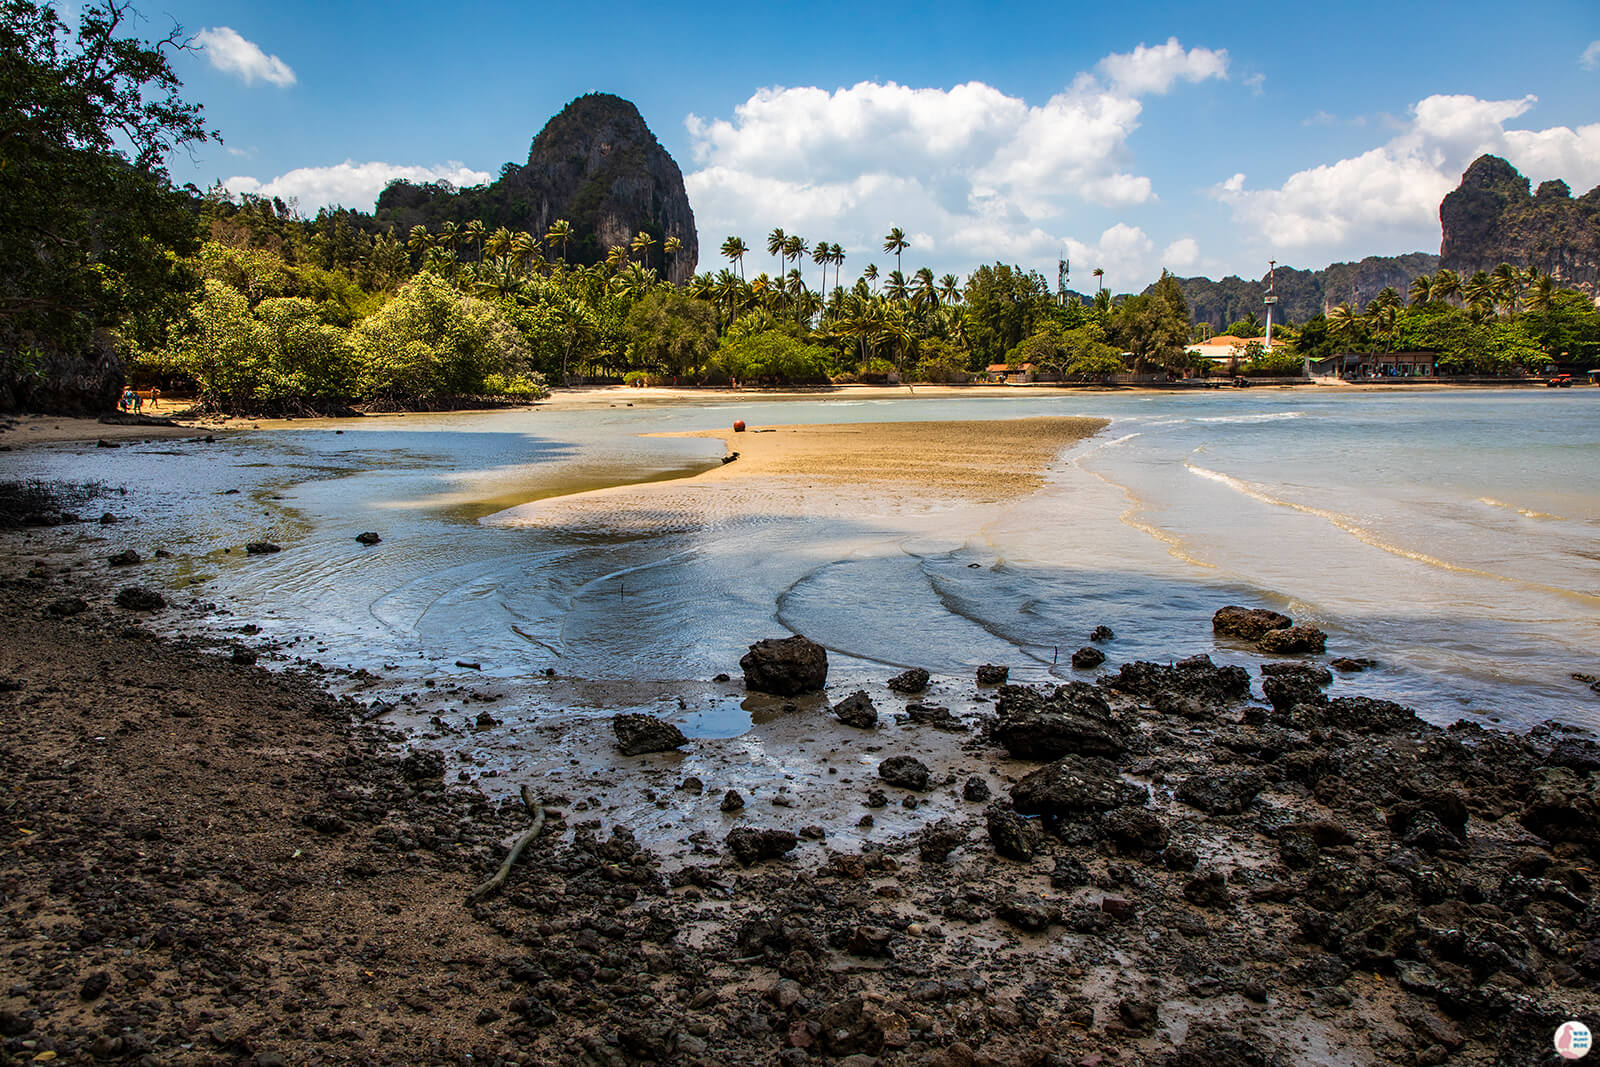
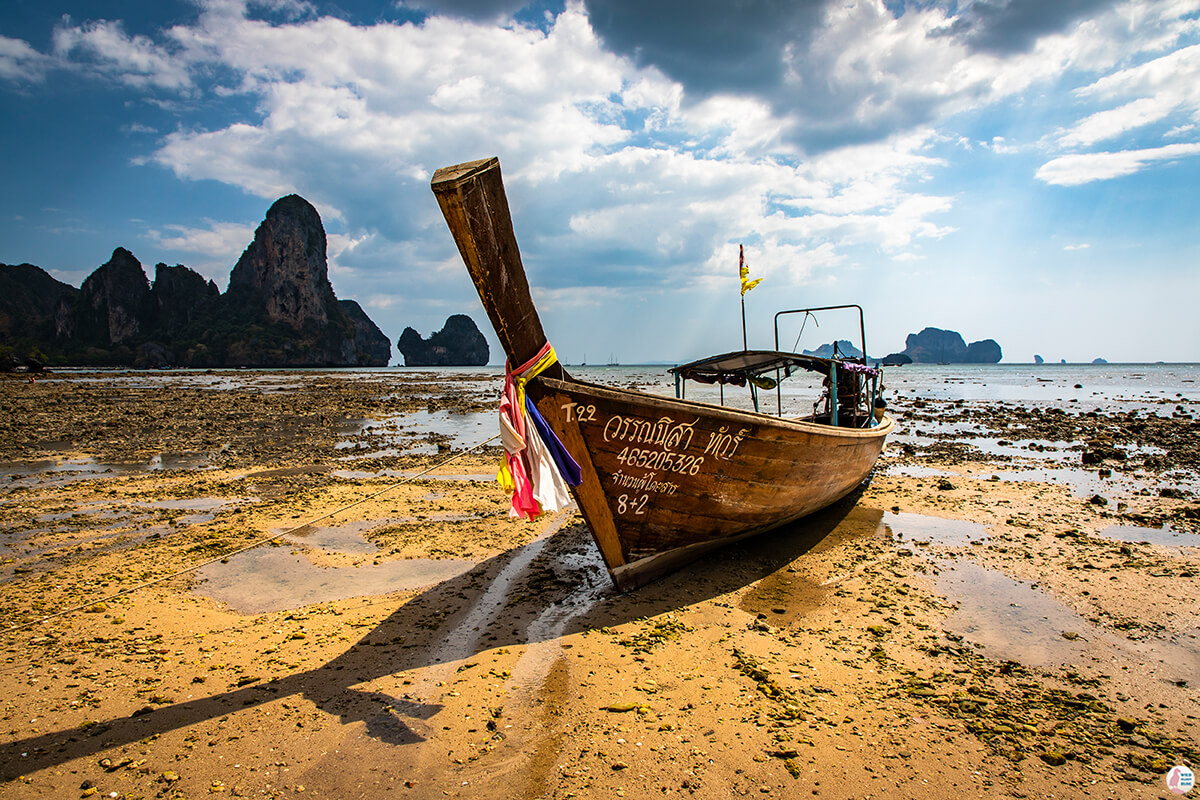
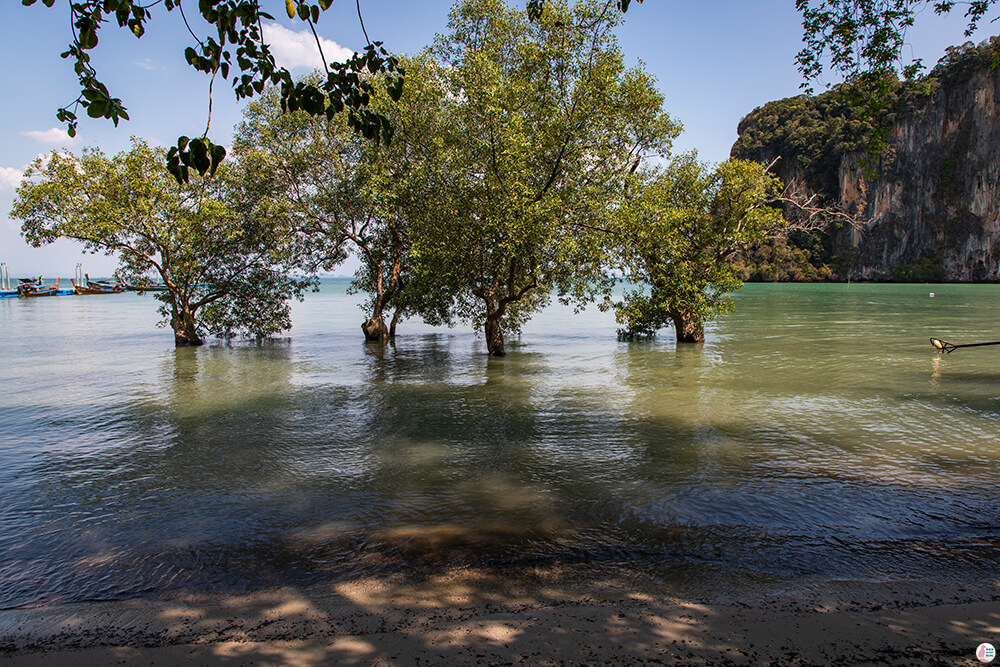
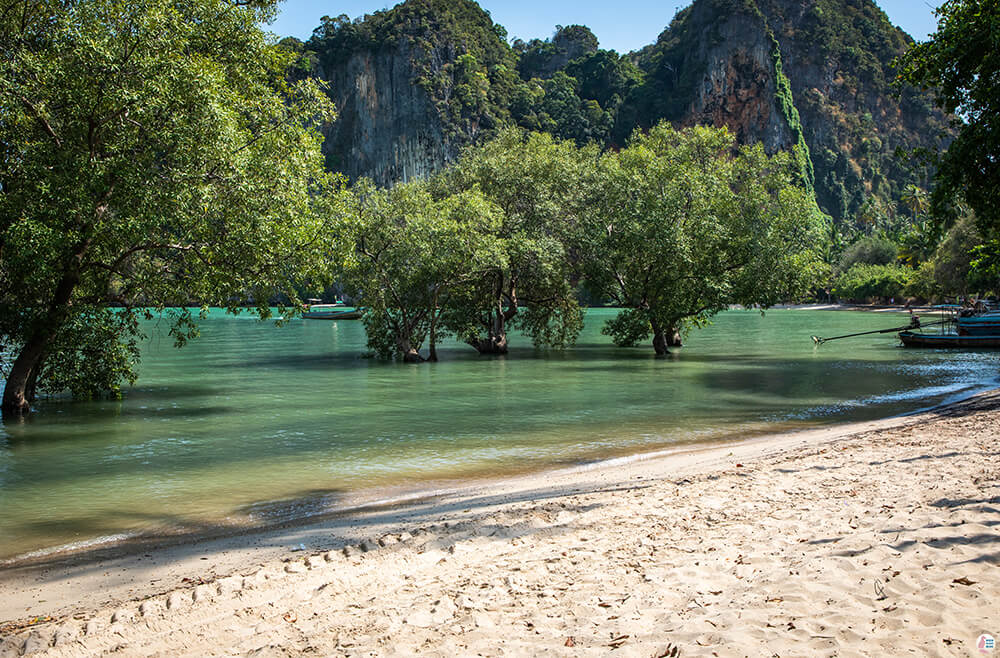
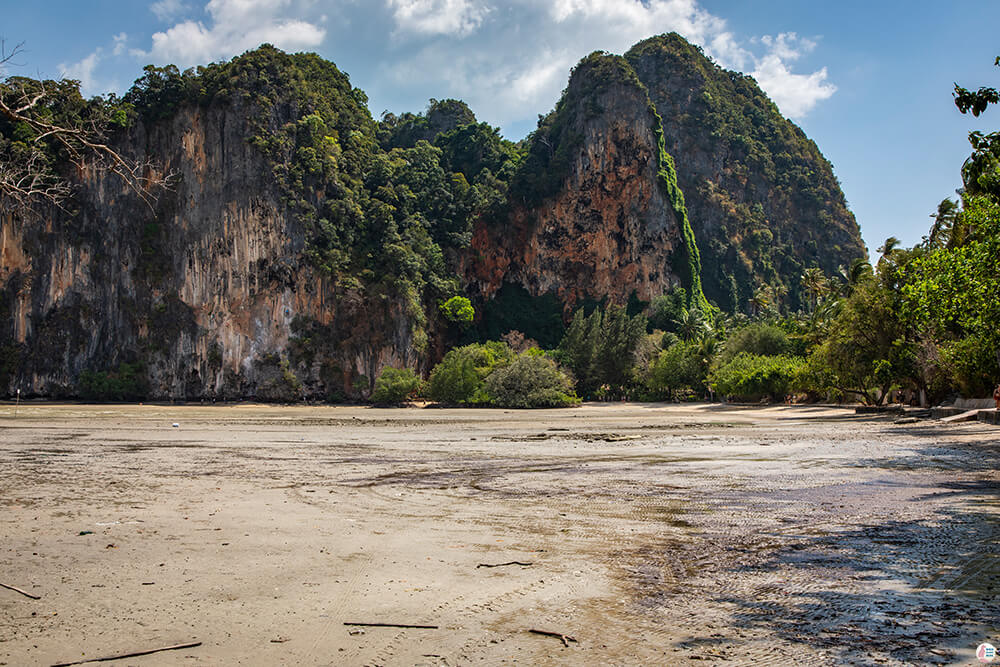
When visiting Thailand’s coastline, you should always pay attention to the tides. A beautiful, paradise-like view can turn into a muddy, rocky view in a matter of hours, so the time of the day is very important. The tides are caused by the gravitational force of the Moon, so they are always changing based on the Moon’s position relative to the Earth. The maximum tidal range in Krabi can be even 2.3 m, so the tide can really change the landscapes and the lives of the people living here. Best would be to plan your trip so that you see Railay East at high tide. Railay East landscape changes considerably between low tide and high tide. With its mangroves and trees in the sand, the landscape at Railay East Beach is really awesome during high tide and you wouldn’t want to miss it. Also, if you are planning to climb to the Princess Lagoon you have to properly plan your trip in order to make it to the lagoon at the highest tide, otherwise your effort will not be so rewarding. You can check the tidal forecasts on tide-forecast.com
What to See and Explore at Railay Bay?
Even though this doesn’t look like a big place, you will have plenty of things to explore at Railay, depending on your level of fitness, so you should take lots of water with you or stop frequently at the bars and restaurants that are around. Most of the restaurants that are open to everyone are located at Railay East. The other places seem to be open only for hotel guests, which is quite unfortunate, since there were plenty of available spaces when I went there. I have visited Railay Bay 3 times during my 2 weeks trip: 2 times by myself, by taking the boat from Ao Nang and one time with the “4 islands” tour. In retrospective, I could have easily visited Railay in one full day and spend the other day visiting something else if I knew the exact route and had been aware of the tides.
Route Suggestion for Exploring Railay Bay, Starting and Ending at Tonsai Beach
This below would be my suggested route, if you plan to explore Railay Bay in one day:
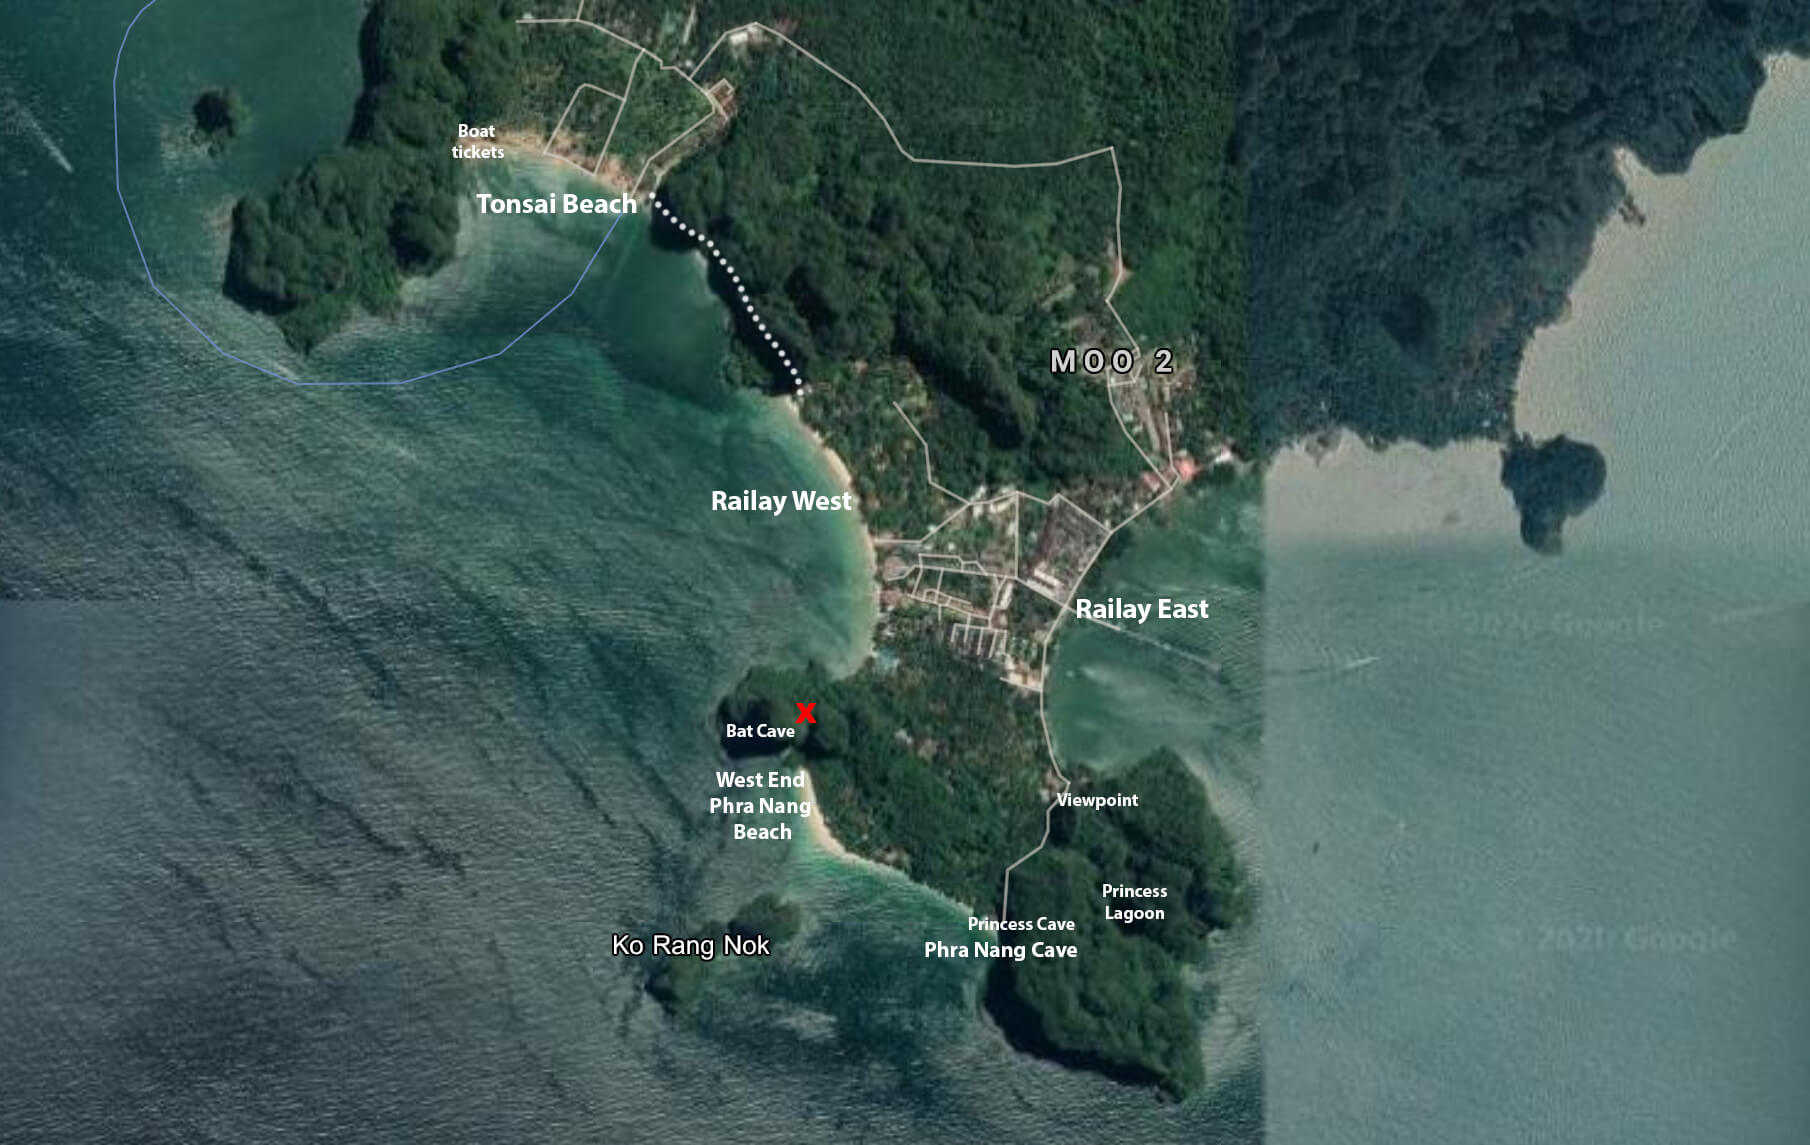
Tonsai Beach -> Jungle Walk (with detour to Gibbon Roof) -> Diamond Cave -> Railay East -> Climb to Viewpoint (additionally climb to Princess Lagoon) -> Lunch break -> Phra Nang Cave -> West End Phra Nang Beach -> Bat Cave + Viewpoint -> Walk back to Railay East -> Take a path through the village to Railay West -> Hike to Tonsai Beach
The long tail boats from Ao Nang operate between 8:00 and 18:00, so in order to be able to make the whole route you should aim to leave from Ao Nang earliest possible.
You can change the route, based on the tides and the time estimations below:
Boat from Ao Nang to Tonsai Beach – 15 – 30 min (depending on how fast the boat gets full)
Jungle walk from Tonsai Beach to Diamond Cave – 1 h
Visit Diamond Cave - 20 – 30 min
Railay East walk – 30 min
Climb to viewpoint – 45 min – 1h (Additionally climb to Princess Lagoon adds at least 30 min more)
Railay East lunch – 1 h
Phra Nang Cave and Phra Nang beach walk – 45 min
Bat Cave – 45 min
Go back to Railay East and then walk to Railay West – 45 min
Explore Railay West – 45 min
Hike to Tonsai Beach – 30 min
Explore Tonsai Beach – 15 min
Boat back to Ao Nang – 20 – 30 min
If you want to visit all the places above I recommend you to arrive at Railay Bay at latest 9 o’clock. Make sure you are back at Tonsai Beach to take the boat at latest 17:15. In reality, the times above might be shorter, depending on how many pictures you take, how often you stop etc. Of course, if you want to relax more, you can split the route into 2 days or just skip few of the things on the list.
Below you can find a summary and pictures of all of the places which I have visited at Railay Bay. Some of the pictures are taken with a polarised filter, so the colours of the beach and the sky are much more vivid! Can you tell which pictures are taken with polarised filter?
Tonsai Beach
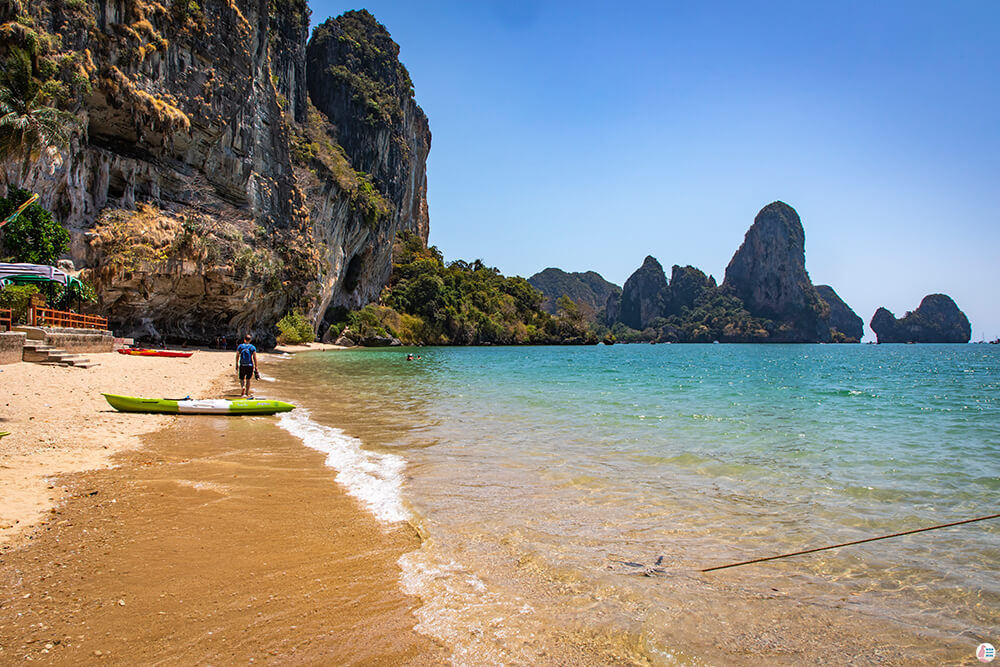
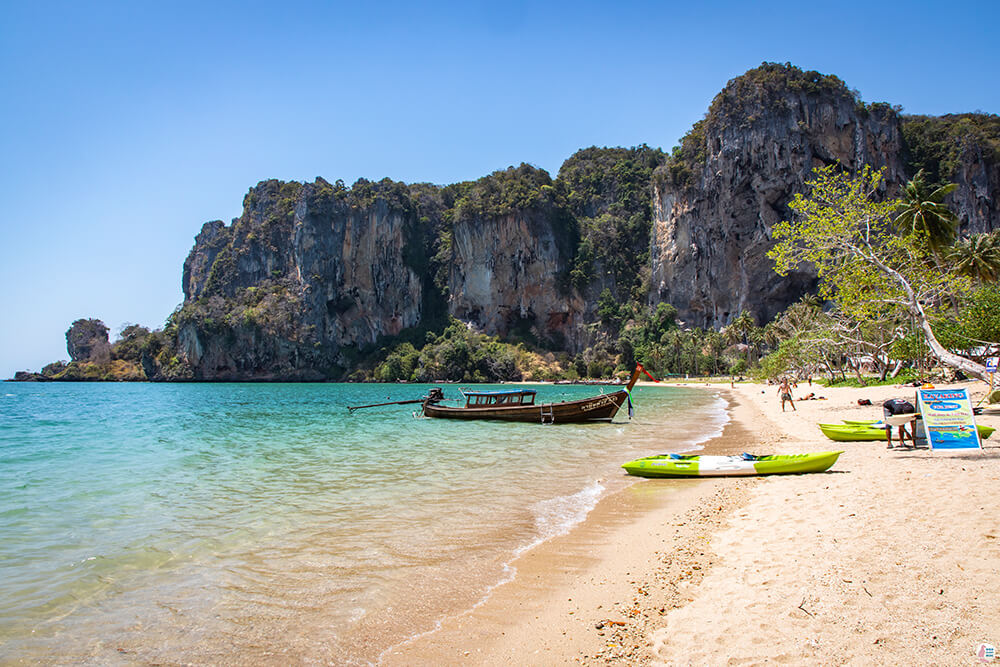
I really enjoyed Tonsai Beach because there were so few people here! I guess most of the people skip this one and go straight to Railay. Also, if you visit Railay with a popular tour there is no time to visit Tonsai Beach, so this beach is perfect for people who are not very comfortable with the crowds.
At the end of the route suggestion you will have this beach almost all for yourself, as most people leave the bay after 16:00.
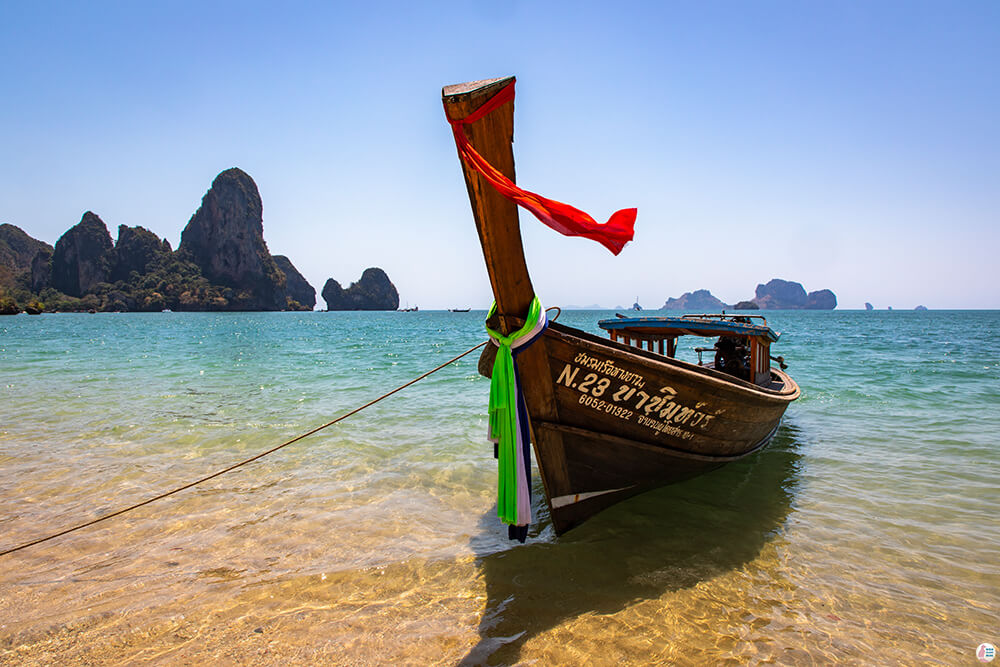
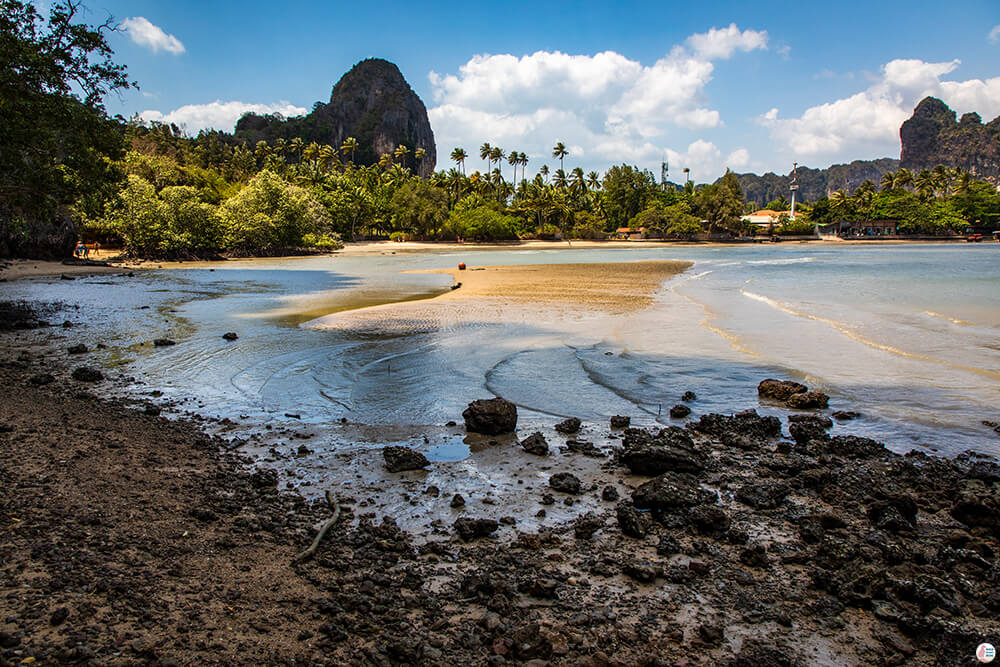
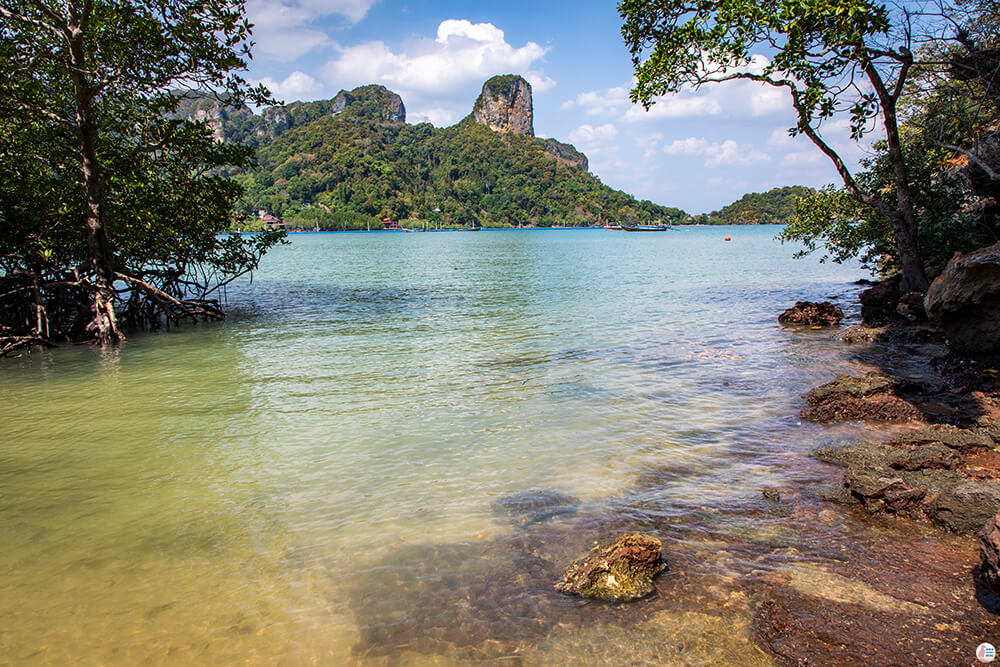
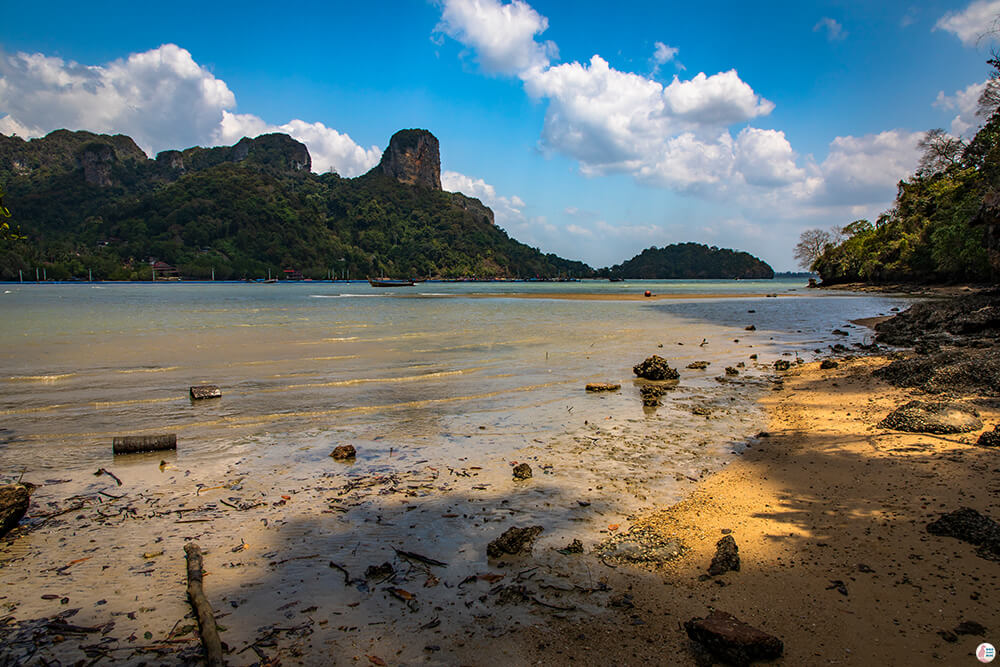
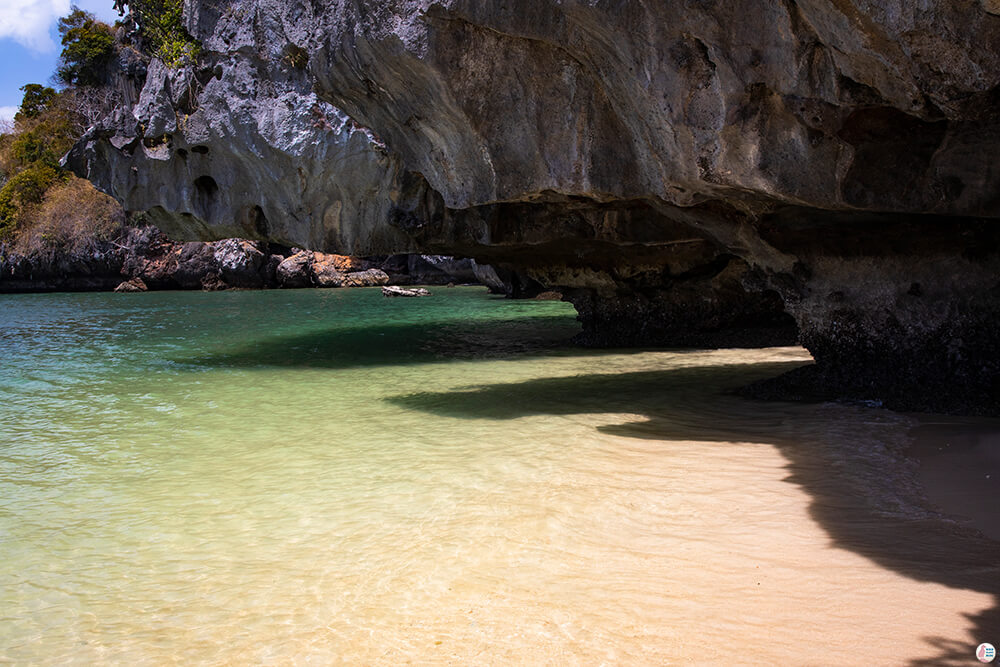
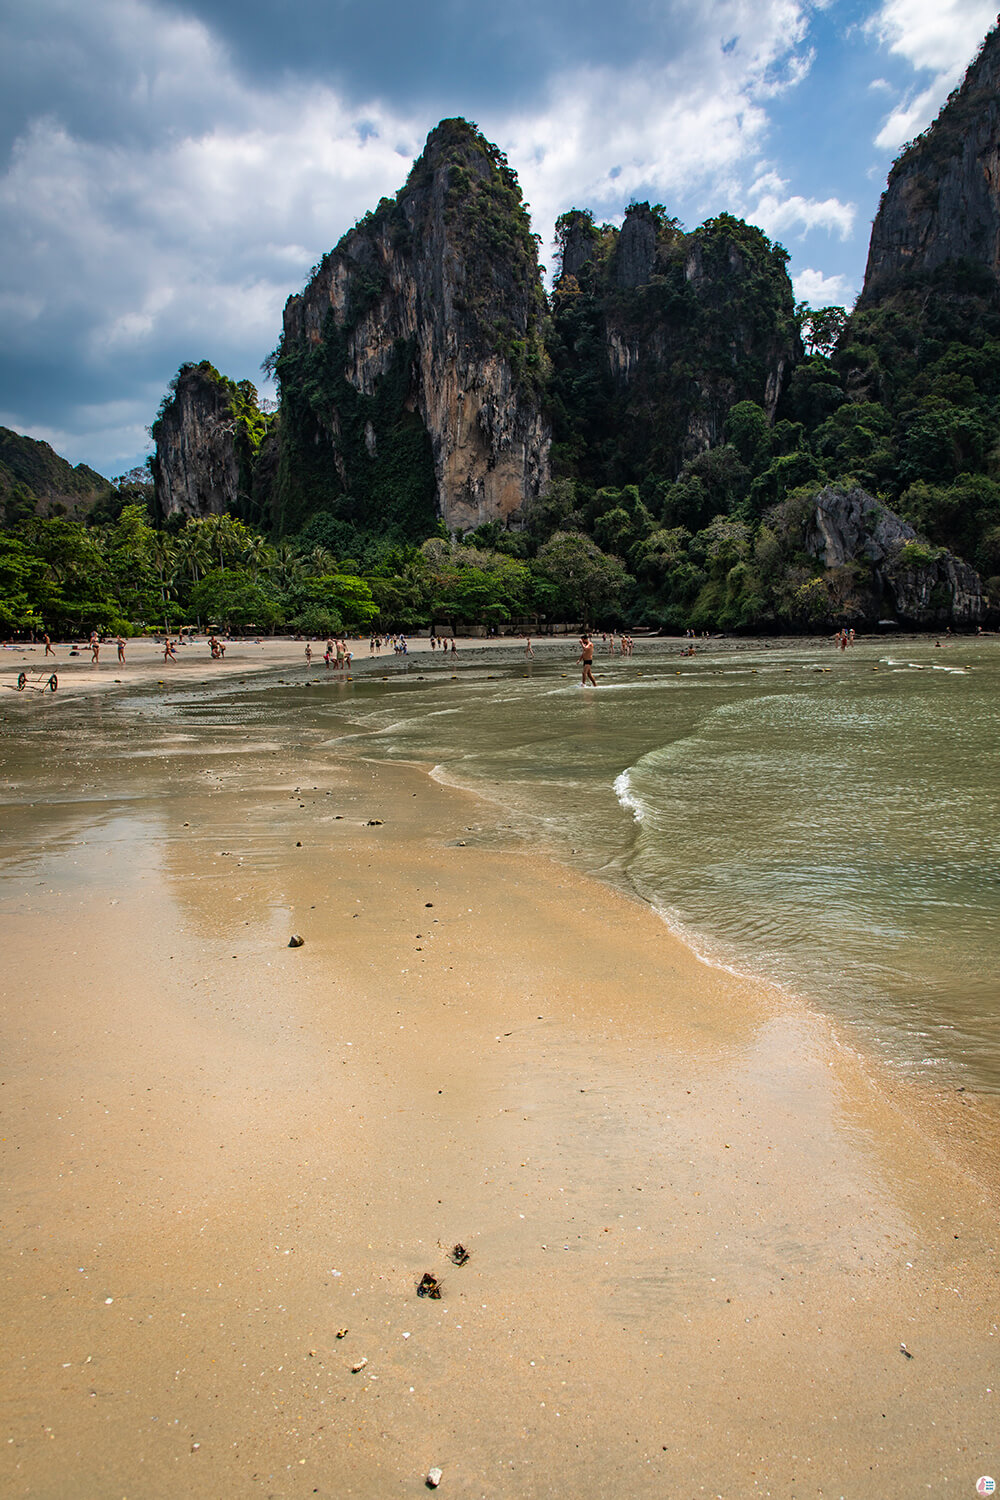
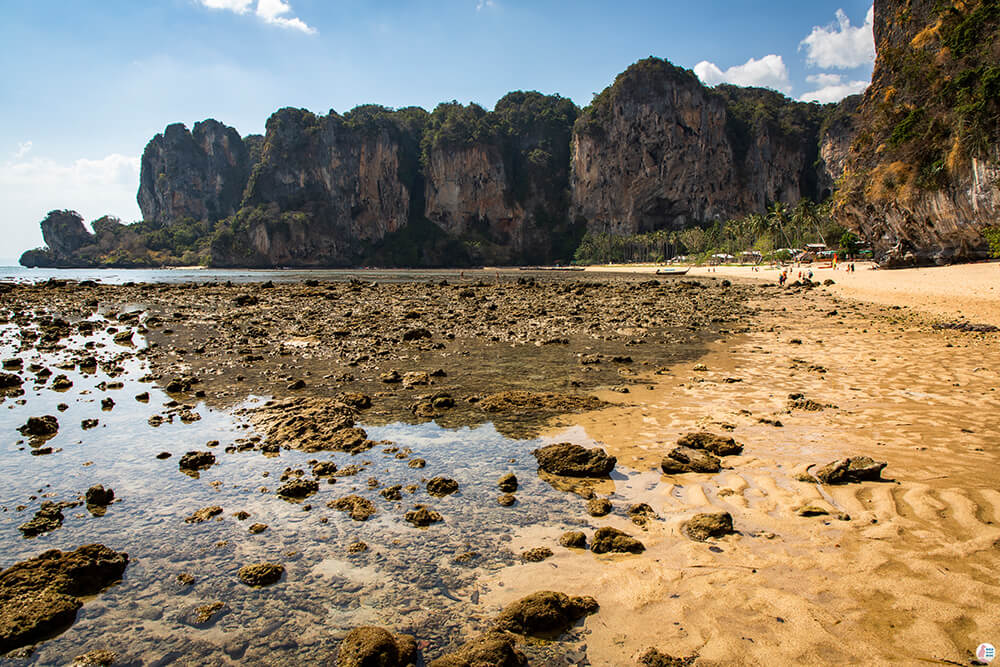
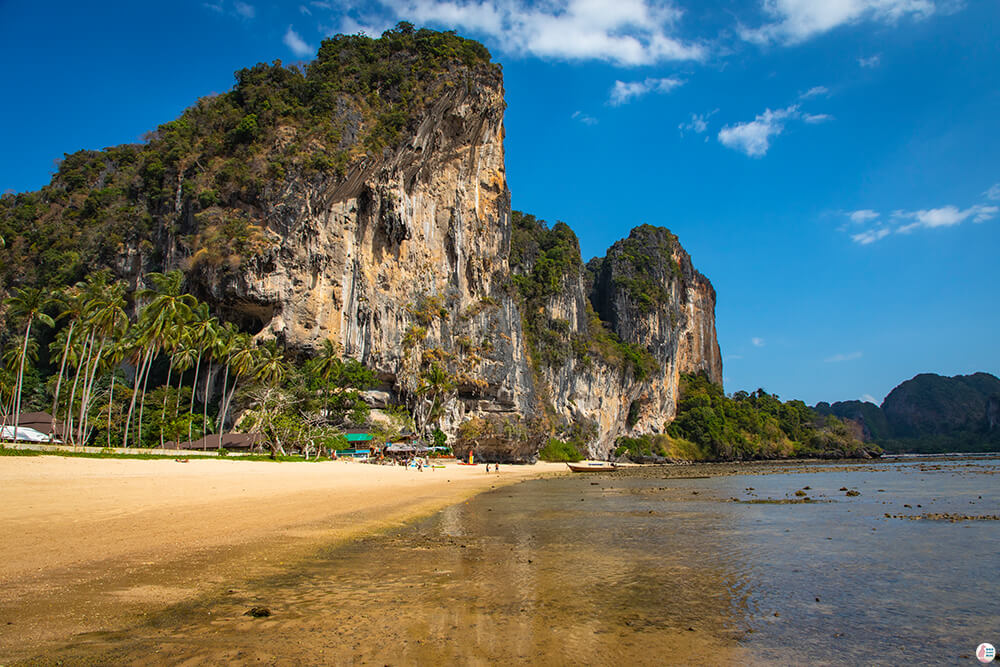
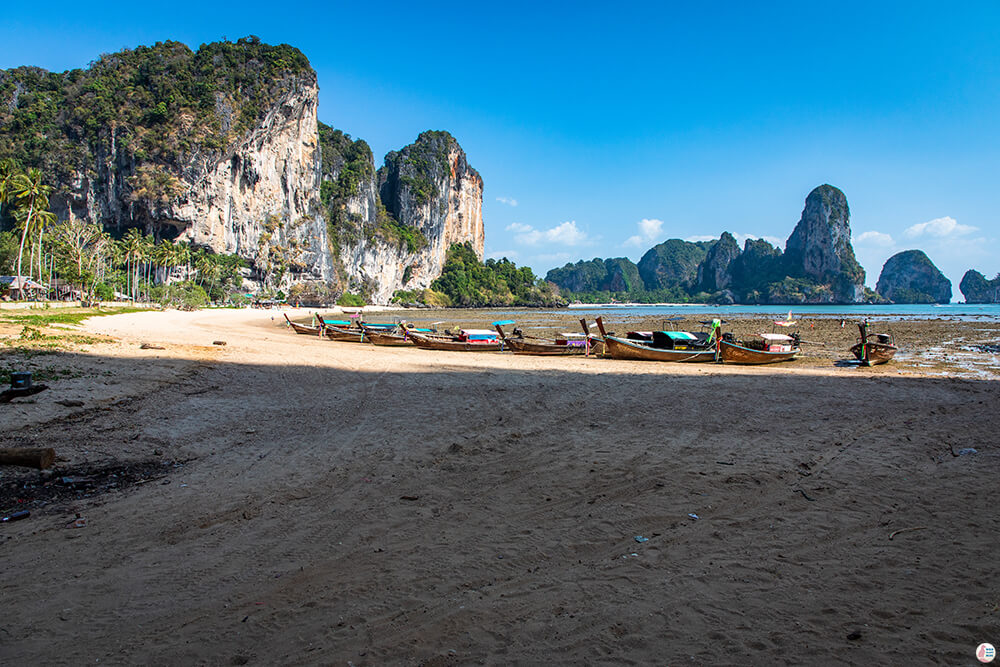
Tide makes a huge impact on the landscape here, so it’s good that you can visit at 2 different times of the day. As an example, the pictures below were taken in the same spot: first is taken at high tide and second is taken at low tide.
Jungle Walk from Tonsai Beach to Diamond Cave
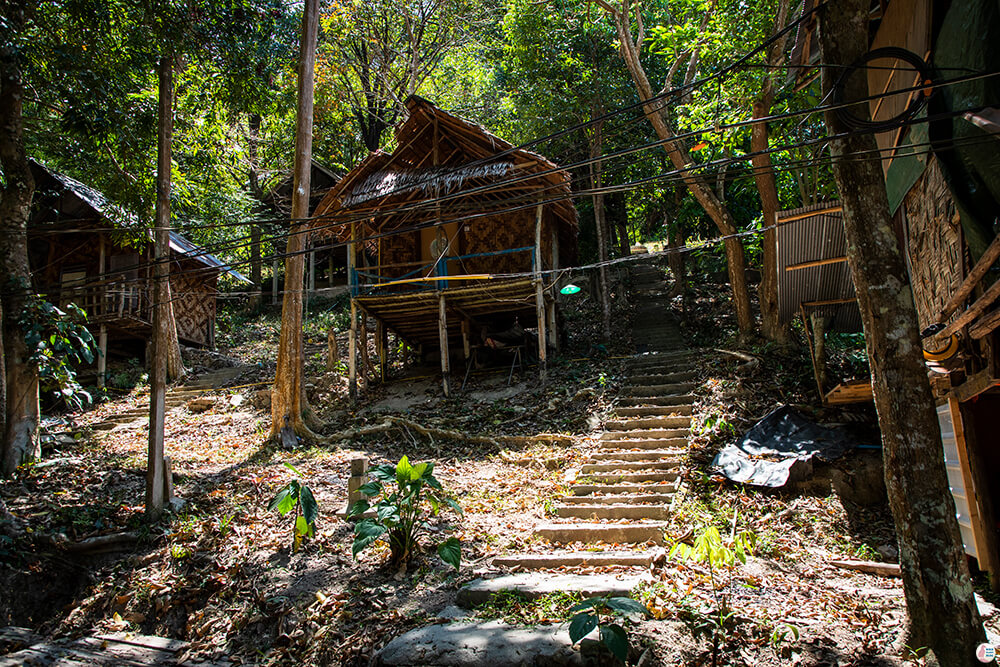
You can easily find the trail from Tonsai Beach on Google Maps. At the beginning of the trail there are many restaurants and a few bungalows for rent.
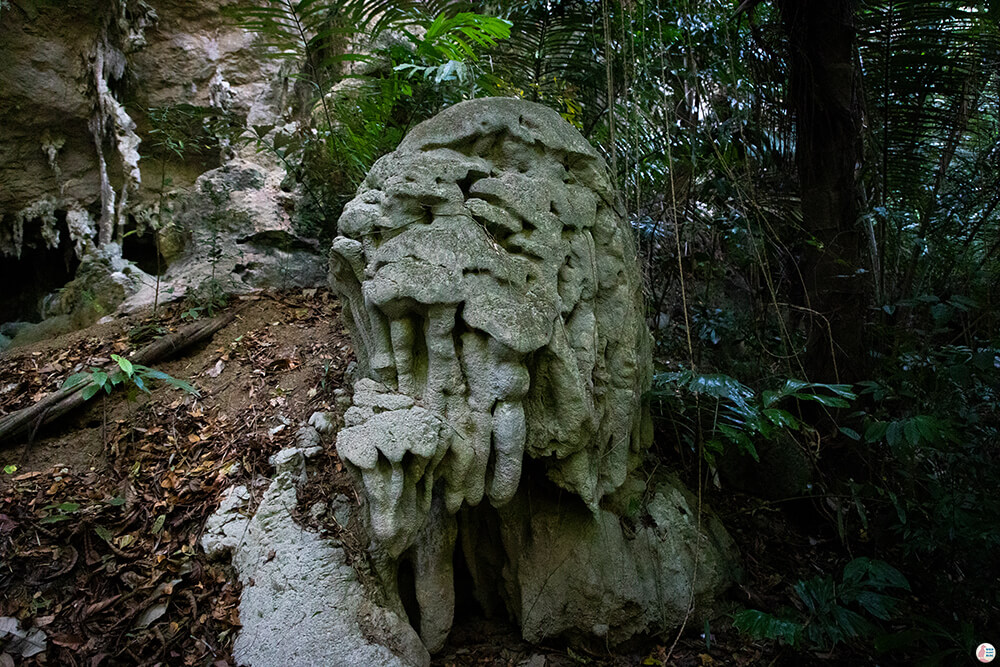
After this, the trail goes through the jungle and at some point there will be a sign on a plank called “Gibbon Roof”. This trail leads to a beautiful limestone formation, with possibility to rope climb to gibbon roof. I am not much of a climber, so I didn’t try out that part, but the limestone formation here was really nice, so I would recommend the short detour.
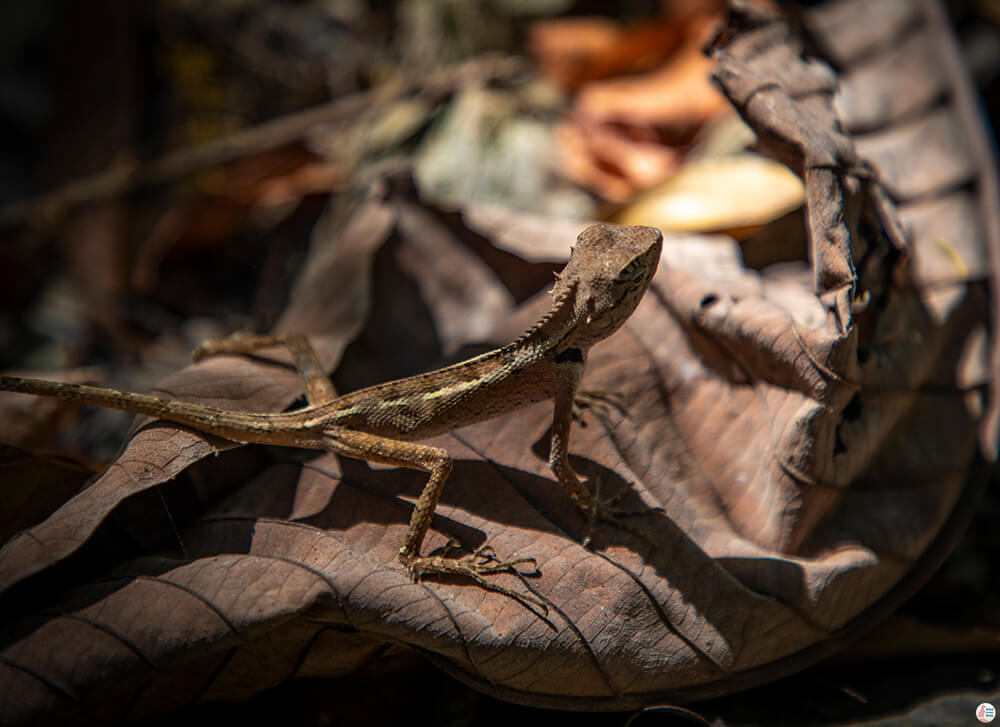
On the jungle trail you can admire trees, lizards and birds. I was hoping to see some monitor lizards here, but there were none.
Diamond Cave
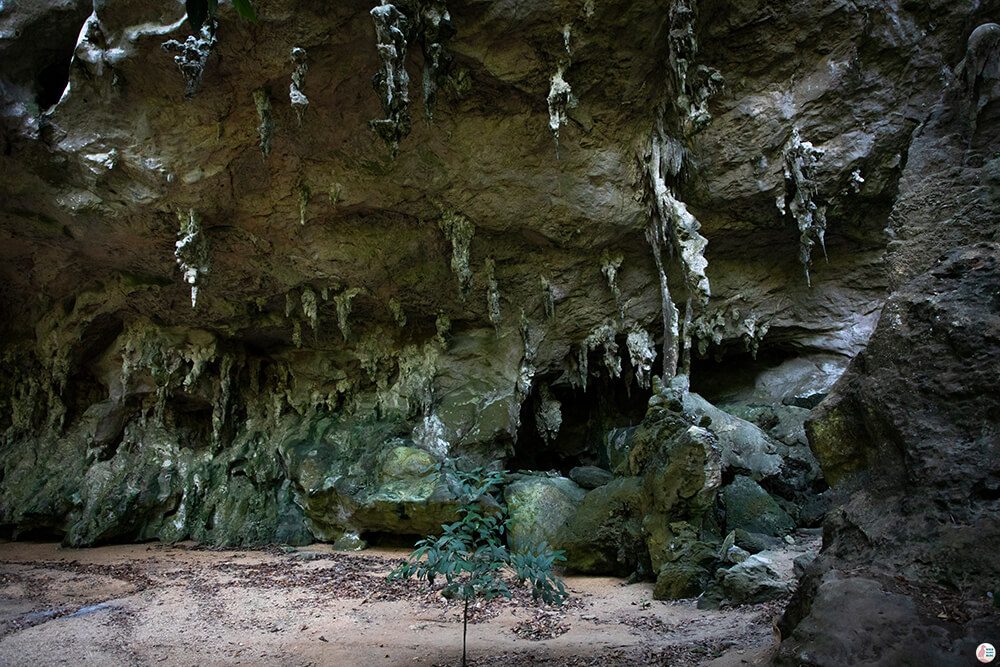
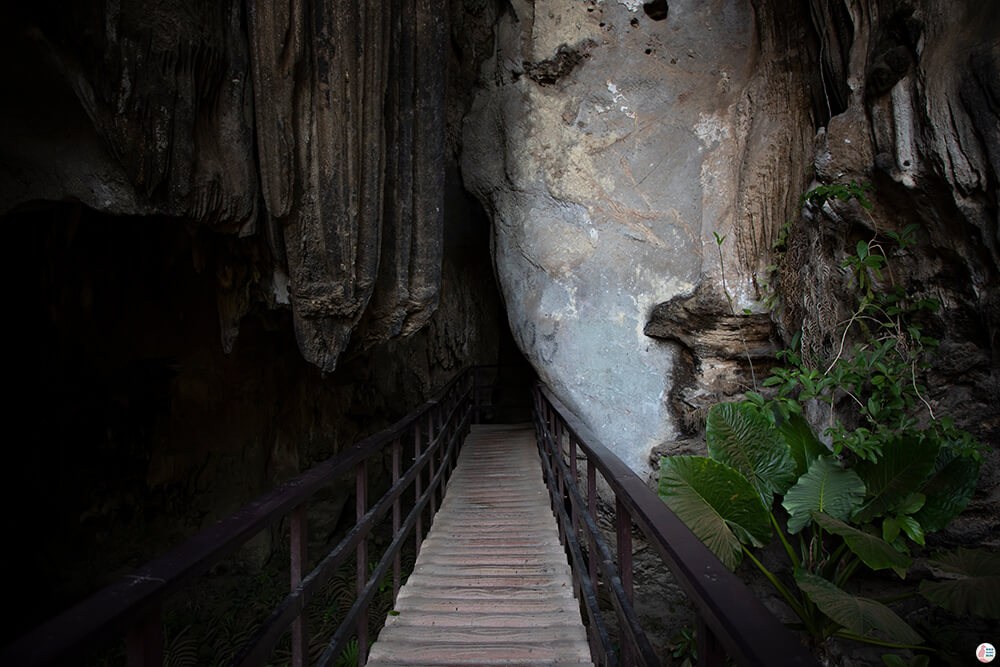
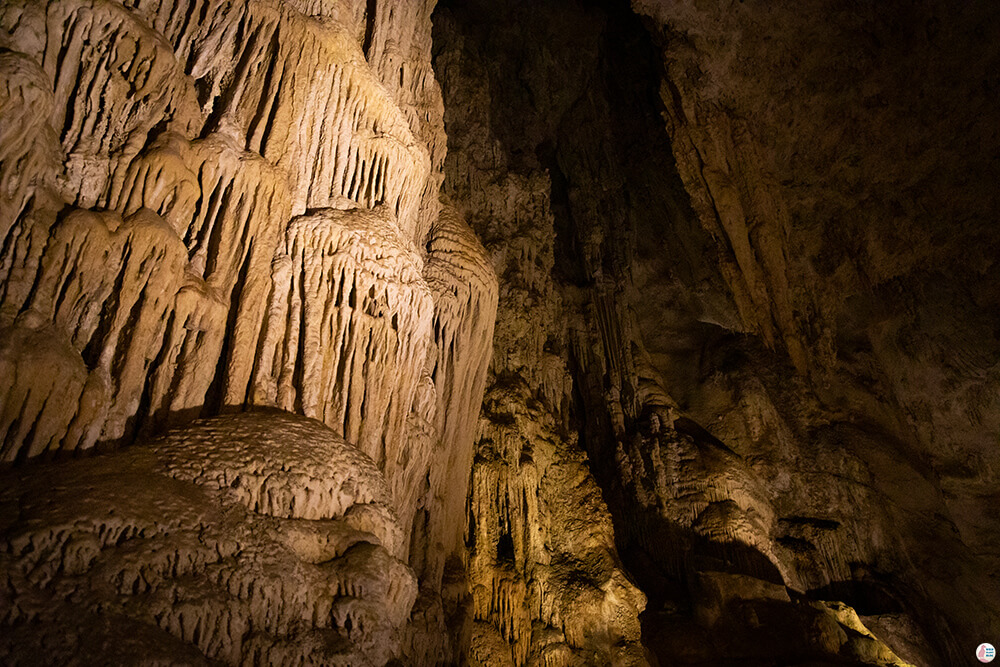
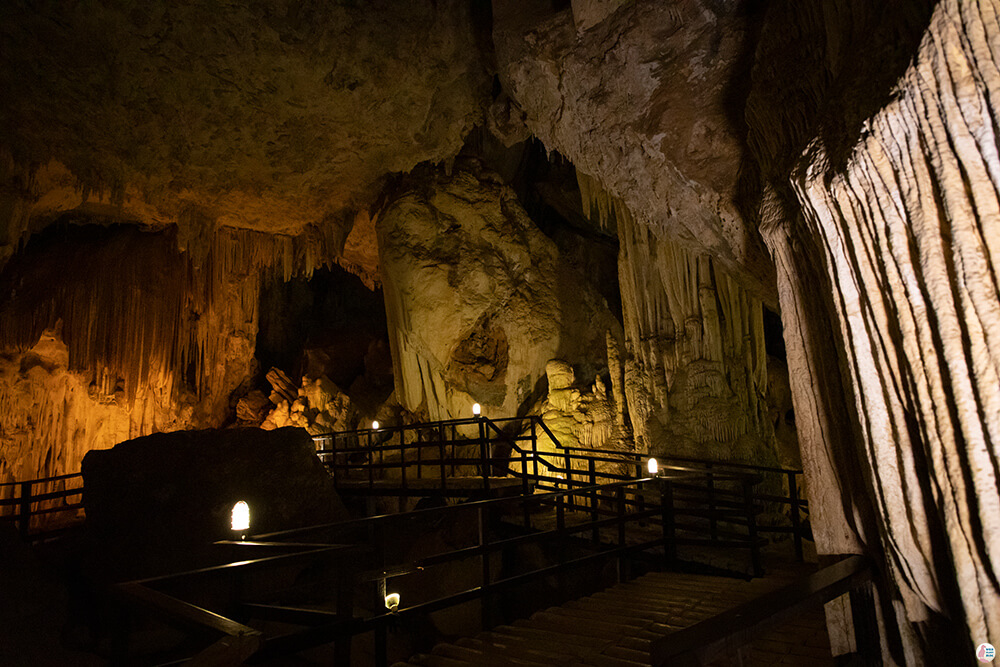
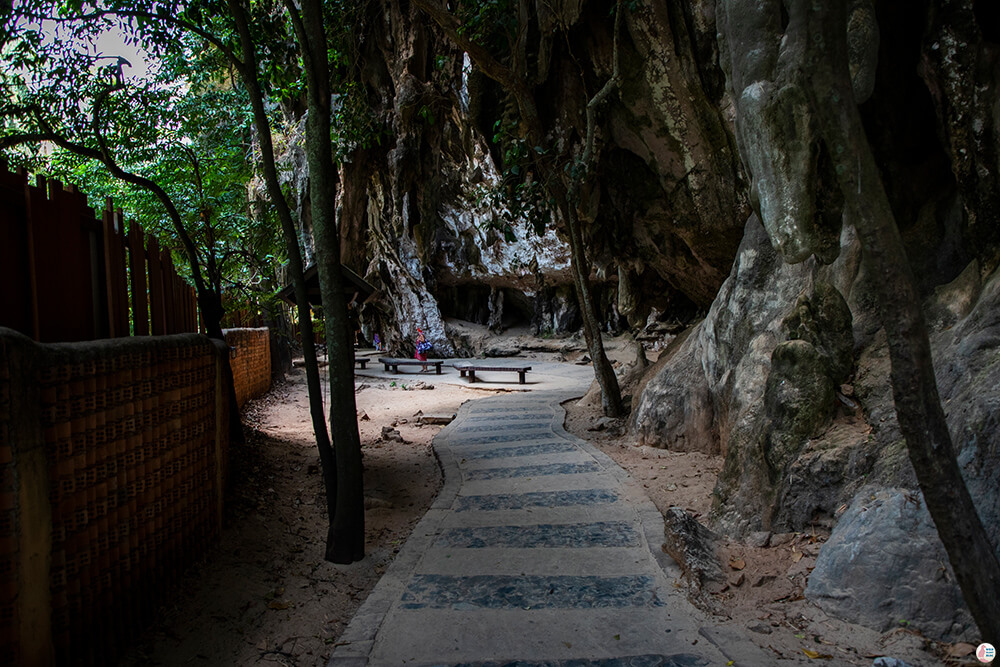
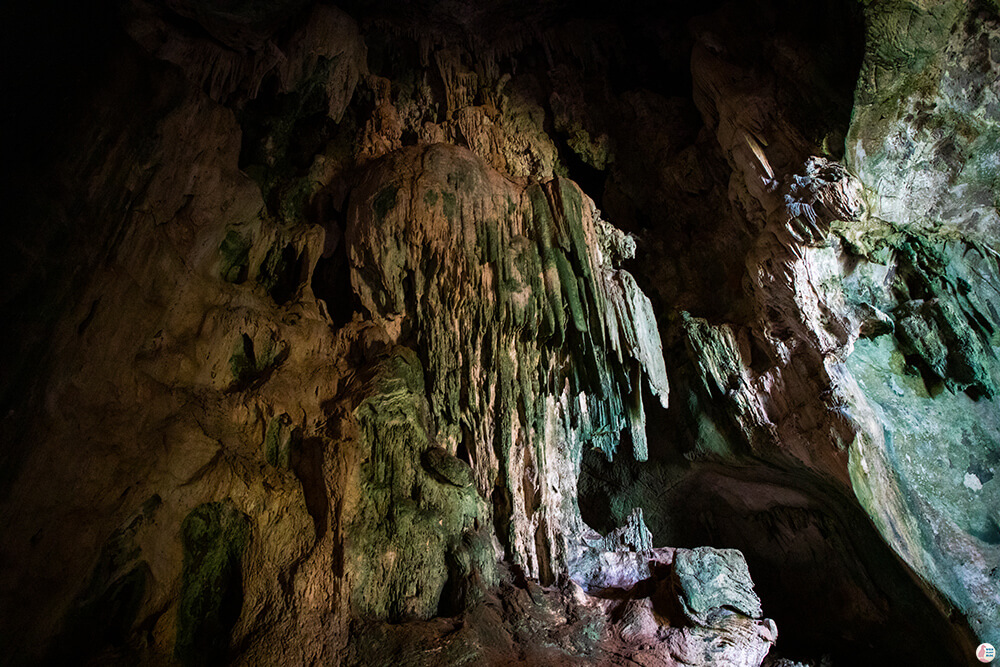
This cave is small and you will have to pay for your visit, which doesn’t take more than 20 – 30 minutes. It has some typical limestone formations that you will encounter quite often around Krabi.
Railay East
The path from Diamond Cave continues towards Railay East. As I mentioned above, Railay East is at its best at high tide. The first time I visited Railay East it was at low tide and, while still beautiful, when I visited it again during high tide it really looked like a paradise lagoon. Check out some pictures below from low tide and high tide and see the differences.
You can find plenty of restaurants here, where you can eat lunch or just hydrate yourself with a beer, juice or water. I suggest taking a big bottle of water and refuel your smaller water bottles cause you are definitely going to need it if you are planning to go climbing to the viewpoint.
Railay Viewpoint
Climbing to Railay Viewpoint was one of my favourite things to do during my 2-week trip to Krabi. I don’t have any experience with climbing, but I am in relatively good fitness shape. I really don’t recommend this climb for people that are out of shape! For a successful climb you should wear hiking sandals or sneakers. DO NOT GO WITH FLIP - FLOPS! There are regular accidents happening on this climb, where people break some bones because they are not well equipped.
When walking between Railay East and Phra Nang Cave Beach on the narrow path next to the cliff, about half-way there is a sign that says “Viewpoint”. It’s quite easy to miss if you don’t pay attention to it.
The climb to the viewpoint is not long, but it’s a vertical wall that you need to conquer and you need to use ropes to pull yourself up. Climbing up is quite fun and I really enjoyed it, but climbing down might get you into trouble. If you have short legs, there is a rough patch that will be quite difficult to get through. I managed to injure one finger that got stuck between the rope and the rock during my climb down.
Another thing to be wary of is that you will get quite dirty if you do this climb. There is a reddish kind of soil all over the place and I wasn’t able to get it off my clothes, not even when I got back home. If you plan to do this climb, don’t put on your best clothes!
Once you get up, the path splits into 2: one path goes to the viewpoint and one path goes to the Princess Lagoon.
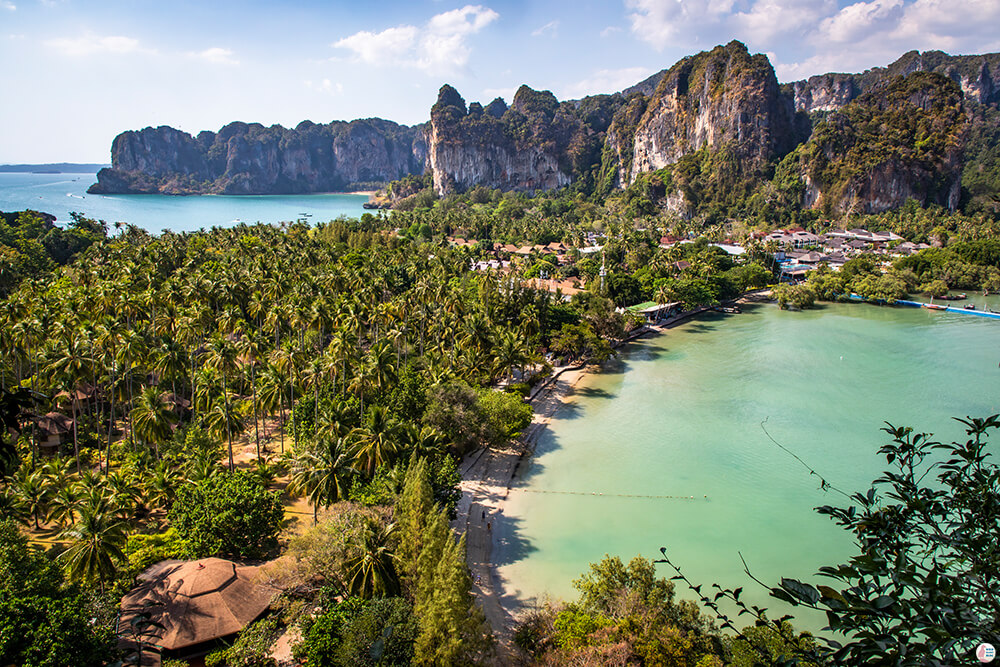
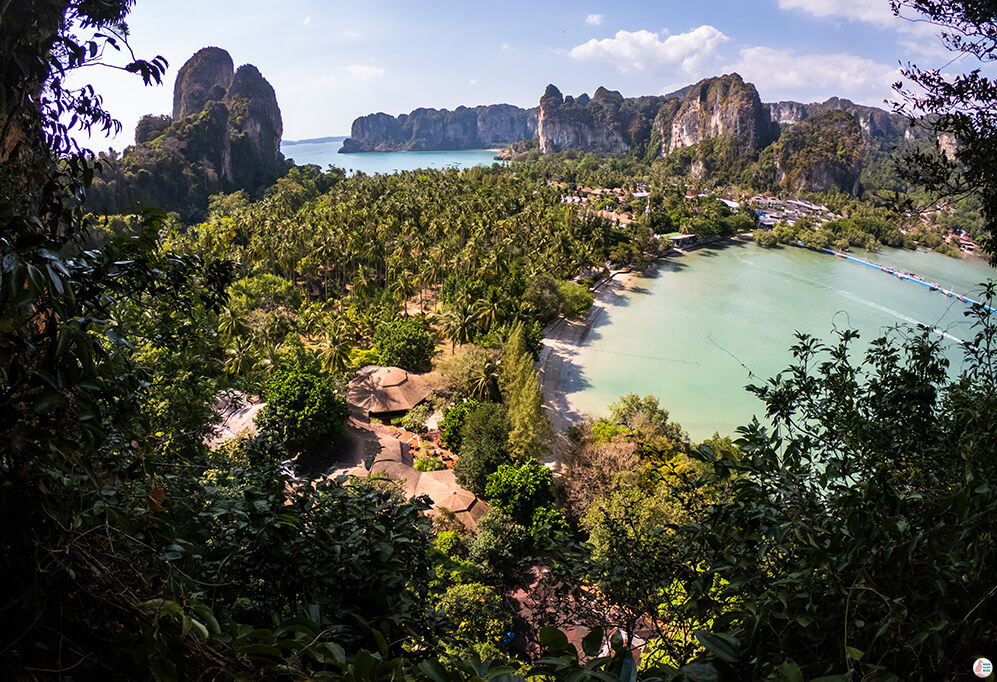
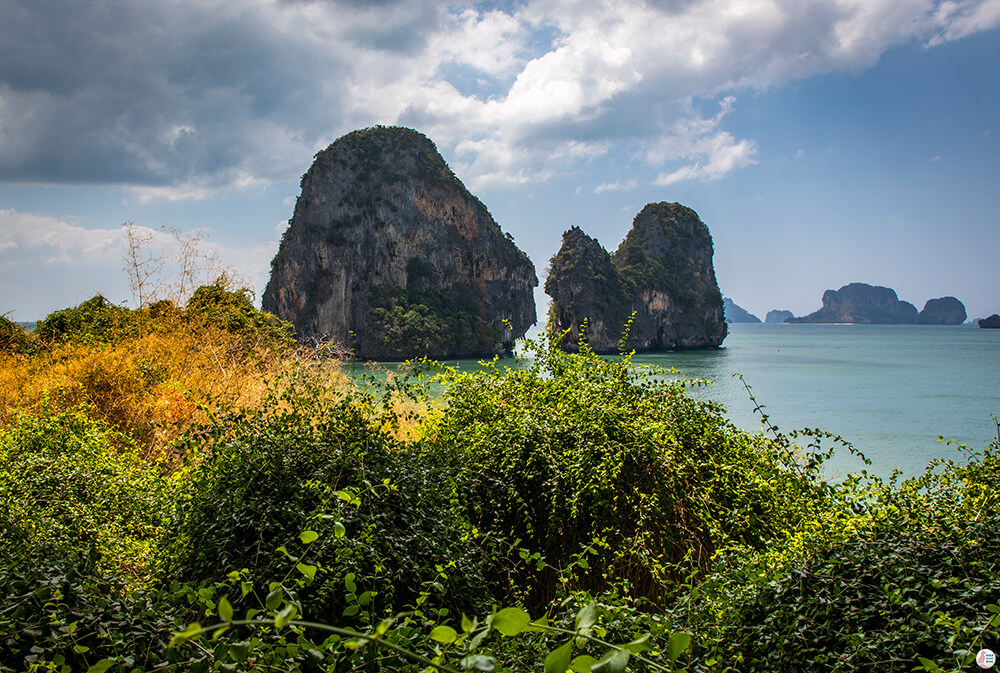
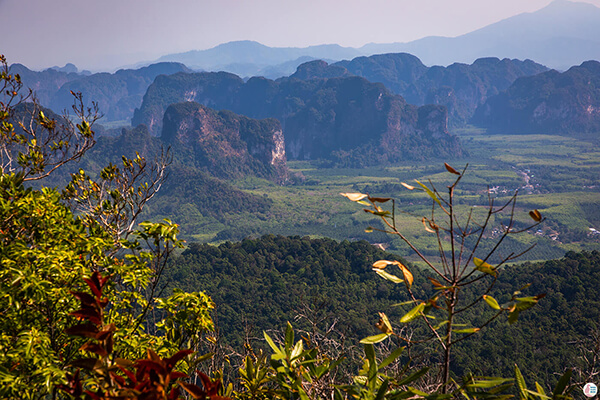
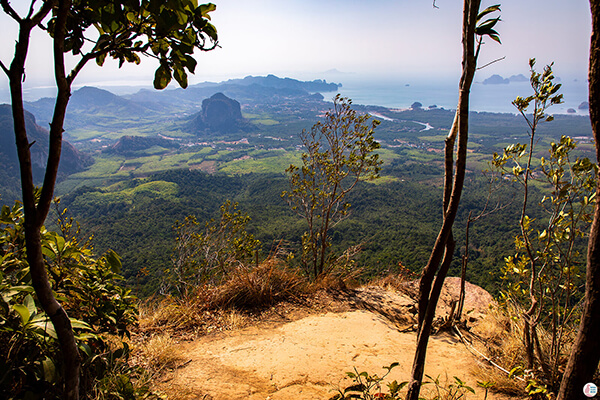
The viewpoint is one of the most beautiful places here in Krabi and it’s definitely worth the effort!
To see this landscape from a wider perspective I used my GoPro camera to take the picture below.
In my case, I decided that the climb to the viewpoint was enough and I didn’t want to stretch my limits by trying the Princess Lagoon. After reading reviews it seems that the climb to Princess Lagoon might be even more difficult than the one to the viewpoint, so I decided to not risk it. If you feel that the climb to the viewpoint was really easy for you, you can definitely try out the Princess Lagoon as well. Just make sure you visit Princess Lagoon on high tide, otherwise you will be disappointed! I read many reviews about people visiting at low tide and then being surprised that all they could find was mud.
Princess Cave and Walk to West Phra Nang Beach
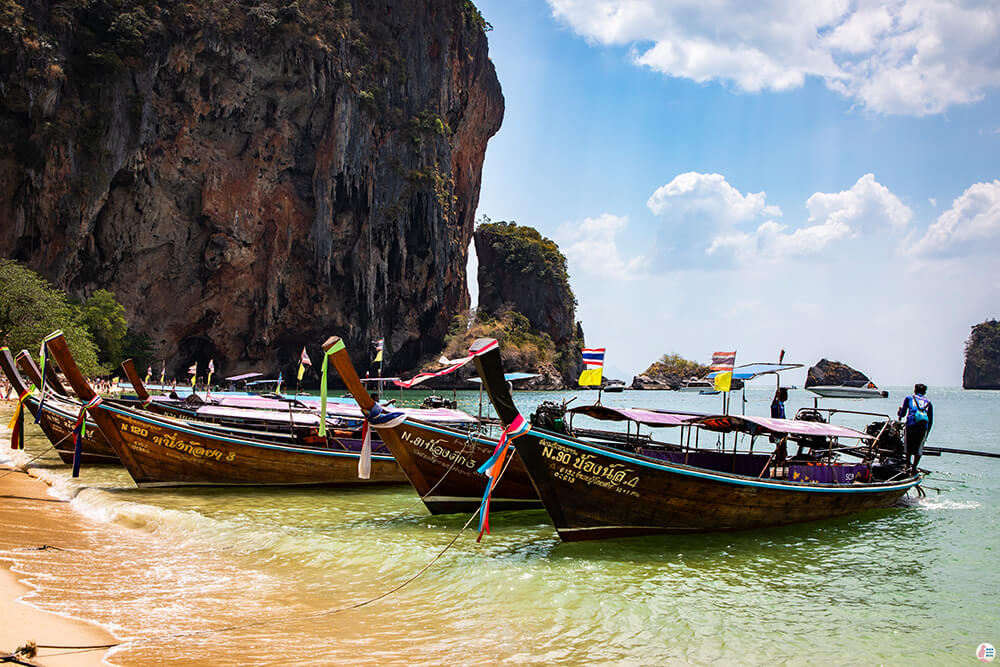
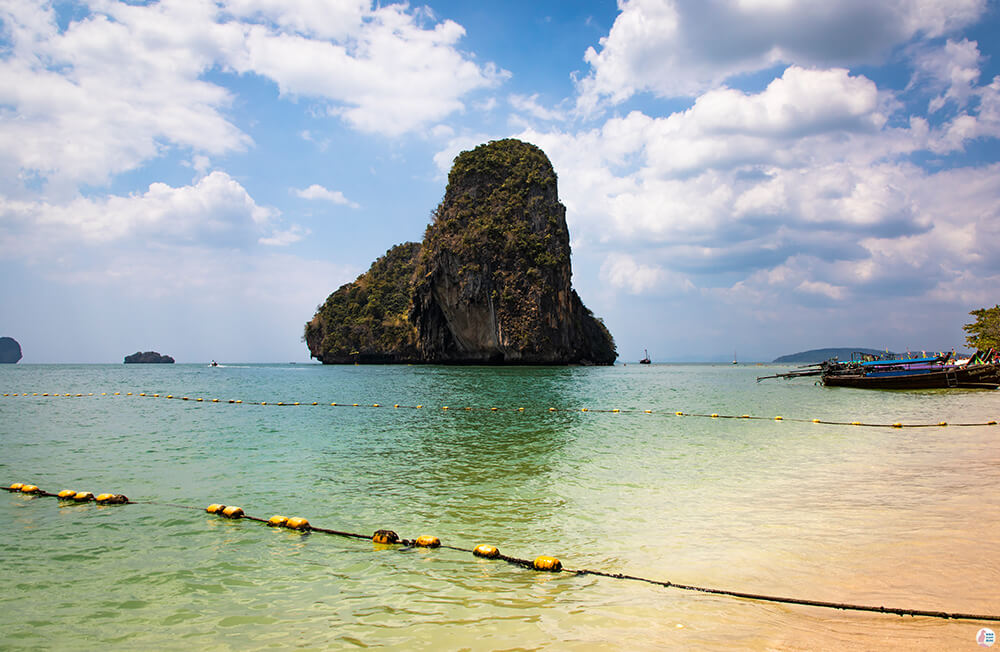
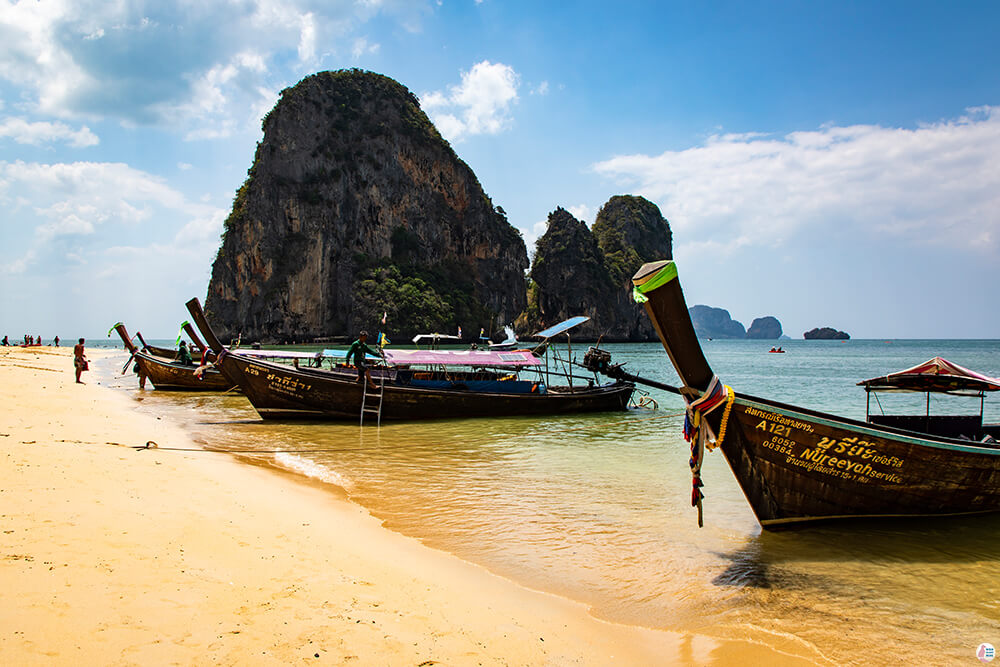
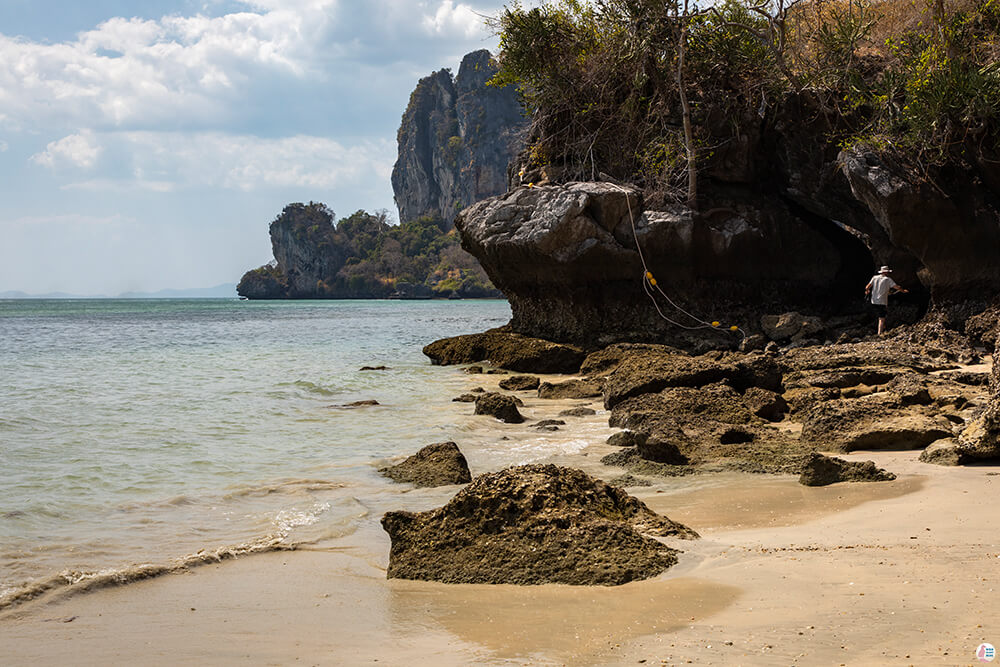
The Princess Cave is more of a shrine than a cave and it's quite crowded, but the Phra Nang limestone formations are truly impressive!
My favourite view was towards Ko Rang Nok islands. At low tide you can even swim/walk to the island.
Bat Cave and Viewpoint at the End of West Phra Nang Beach
At the end of the beach, right next to the rocks there is a small path through the trees. Here I also saw the biggest monitor lizard I have ever seen! Unfortunately, my camera was in the backpack and the lizard retreated in the bushes by the time I was prepared to take a picture.
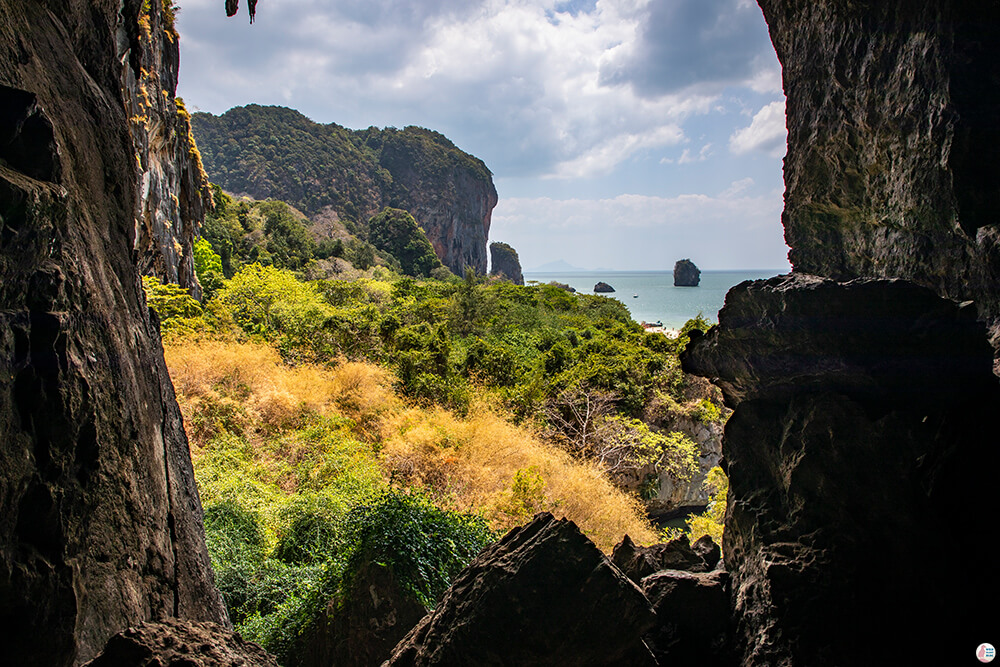
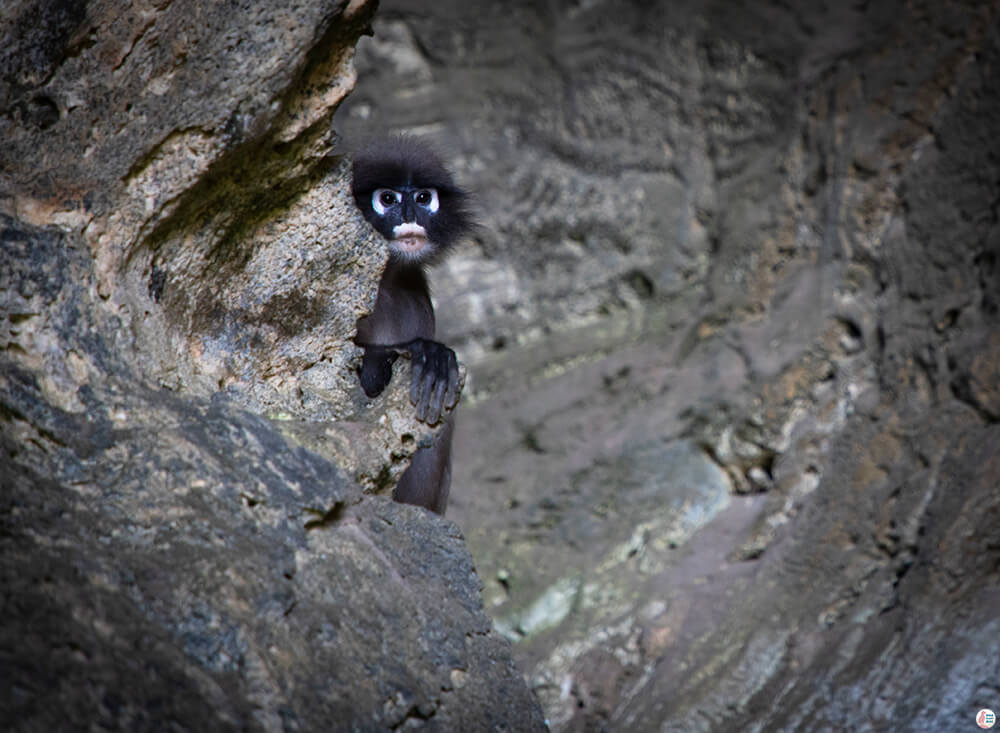
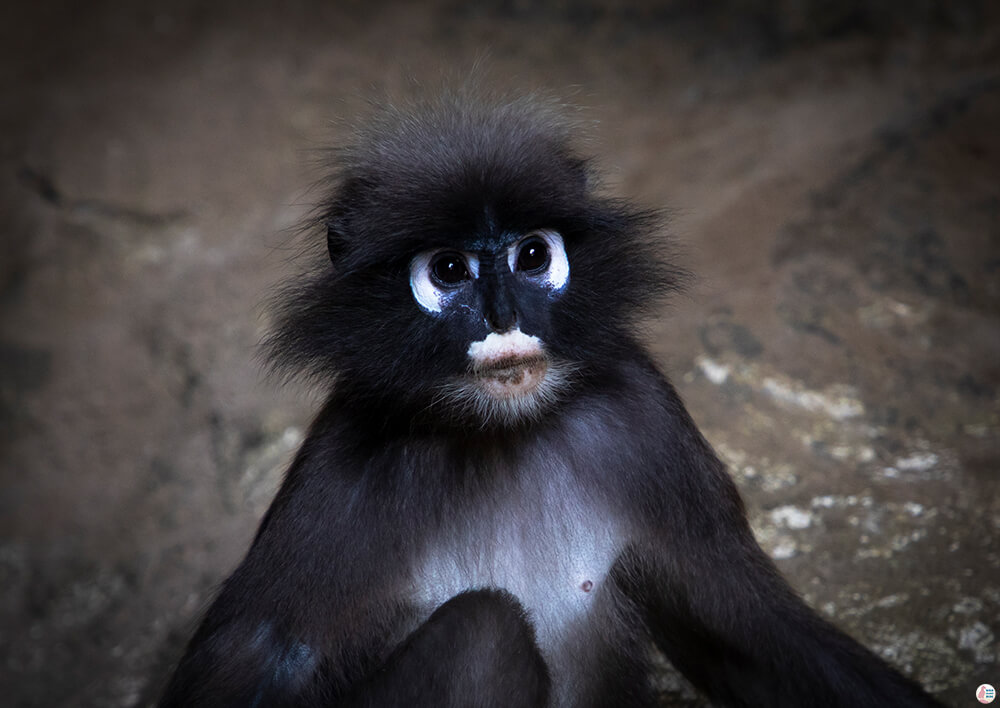
At the end of this short path there is a short, but steep hike up. You will see a lot of rope climbers here, so just follow the short, steep path towards them. After that just walk for a few meters along the cliff until you get to the bat cave. When we arrived at the bat cave there was a spectacled langur waiting for us. The monkey was shy at first, but then came out in the open.
The cave is quite deep and dark, so if you want to explore the cave thoroughly you should bring a head lamp. Again, I don't recommend going with flip-flops here, but wear some good hiking sandals.
Even though our maps.me application was suggesting that there would be a path here that would lead straight to Railay West, we couldn’t find it. From the map it seemed that path is through the cave, but we really weren’t prepared for that. It also might be a very steep one, so in the end we just turned back to Railay East, from where we walked to Railay West.
Railay West
The path from Railay East to Railay West starts around the same place as the floating pier. Just follow the narrow path and you will arrive shortly to Railay West.
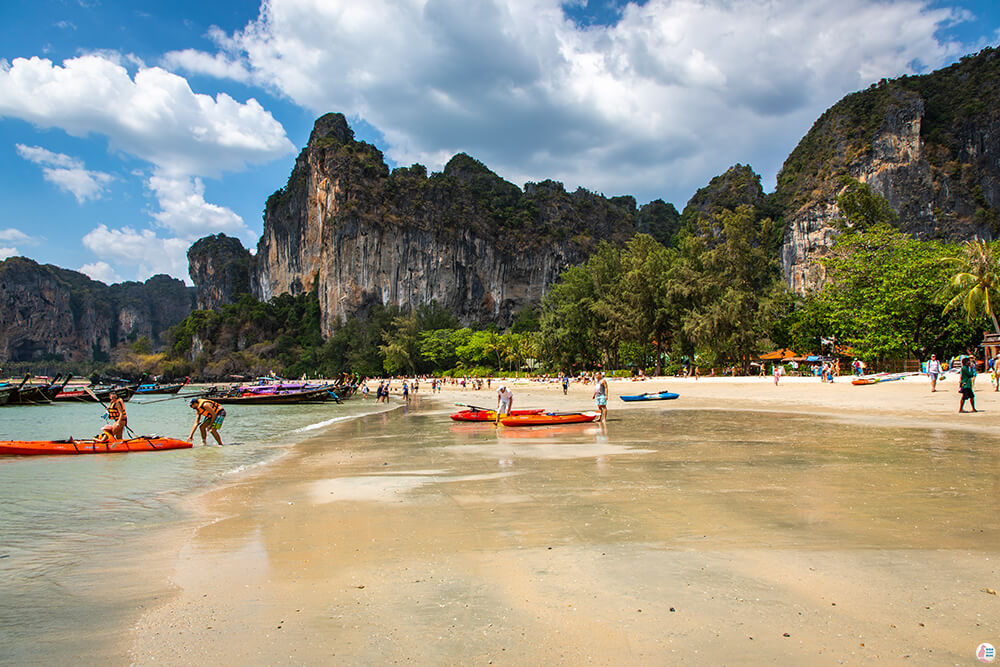
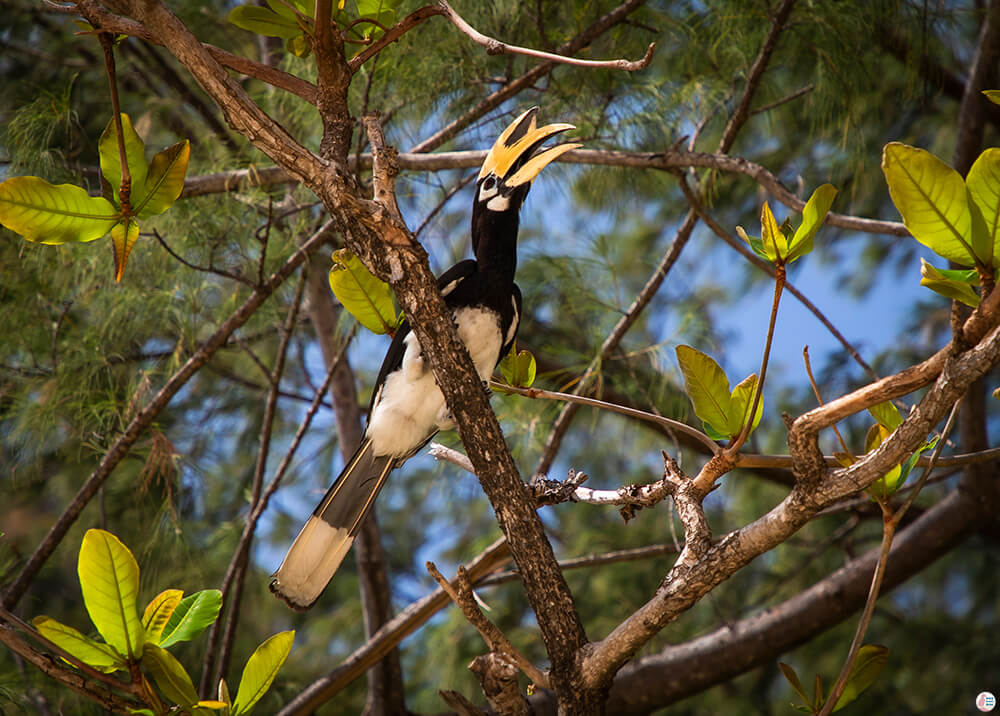
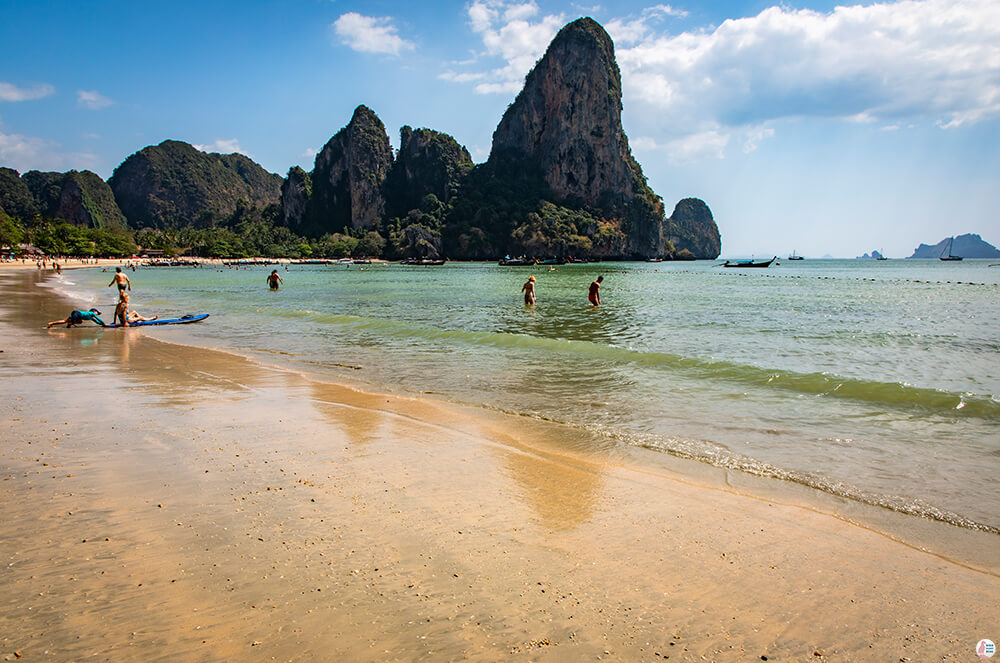
Railay West has even more beautiful landscapes of the cliffs that surrounds it, but more importantly, I actually saw a Hornbill Toucan in a tree close by. After I managed to take a few shots, the toucan flew away. I was so happy to have seen such a magnificent bird!
Hiking Trail from Railay West to Tonsai Beach
Walking towards Tonsai Beach you might get the feeling that there is no passing through the rocks, but a closer look reveals a hiking trail. The hiking trail is really easy and short, but it’s not marked on Google Maps. You can see the marked hiking trail on maps.me.
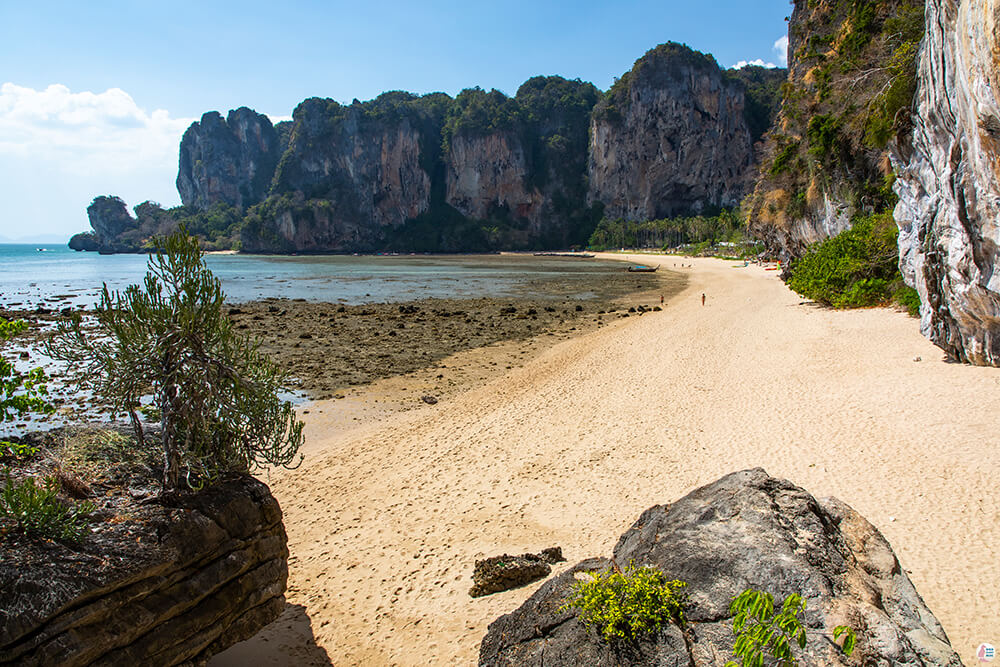
At the end of the trail there is a beautiful view towards Tonsai Beach, from a higher point! At this time Tonsai Beach had low tide.
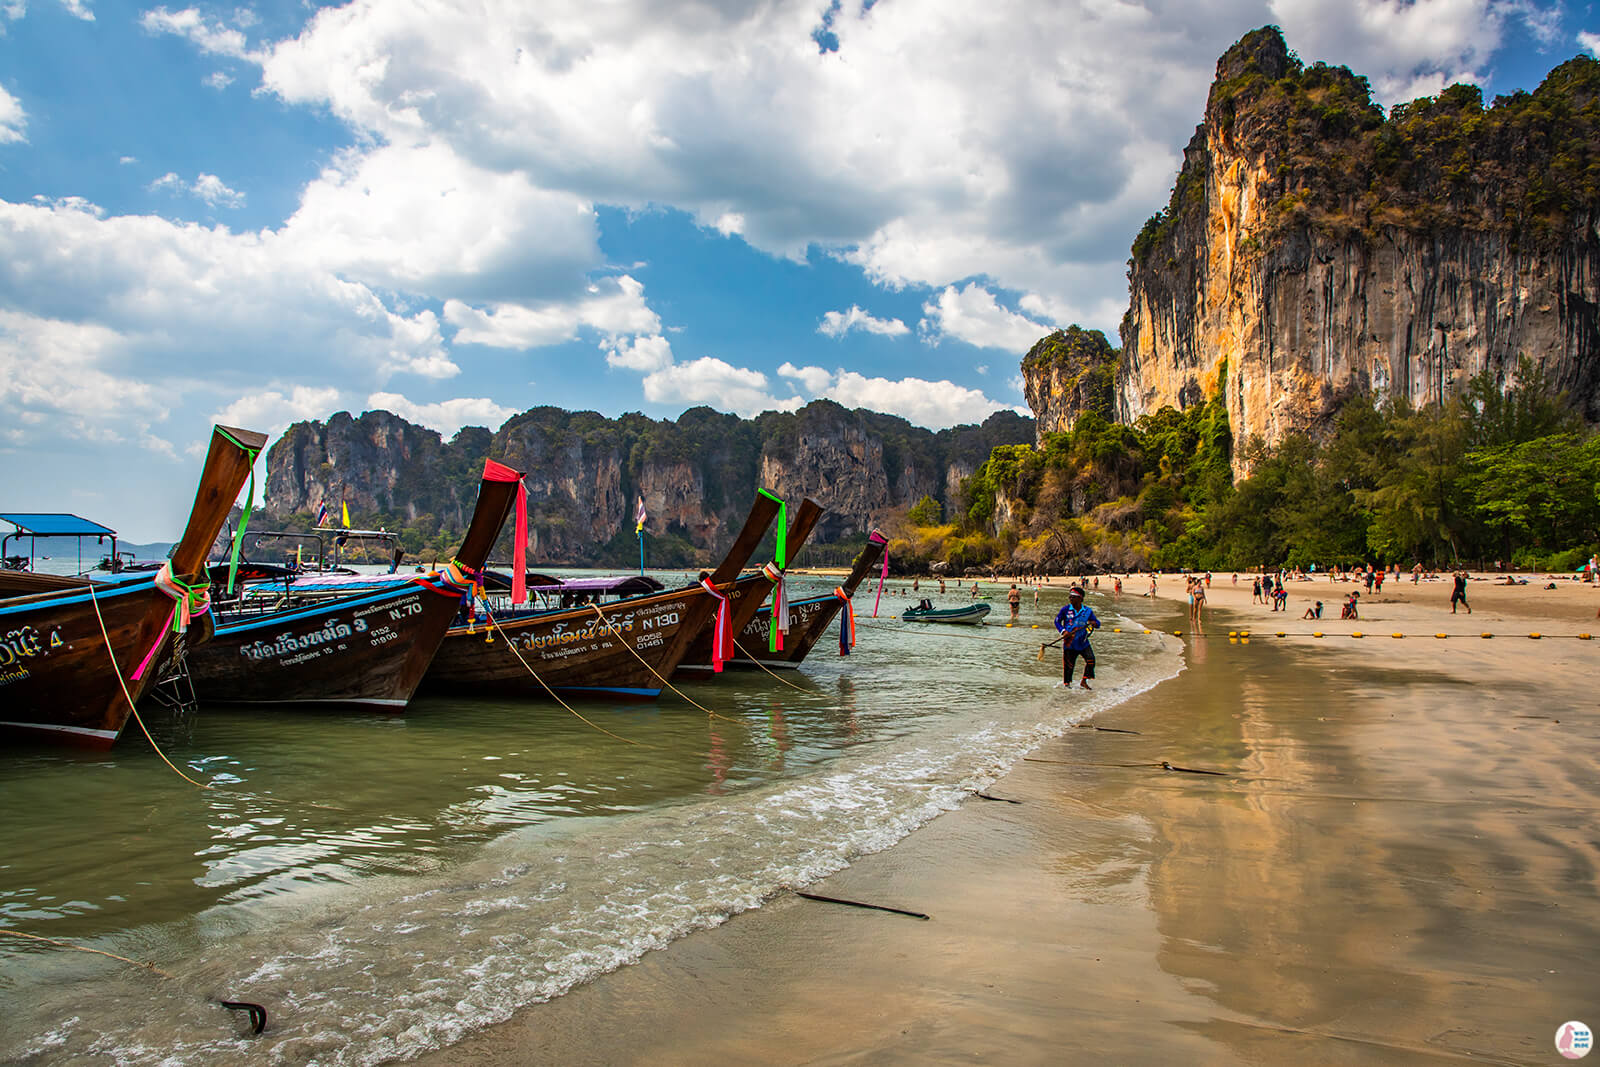
During low tide, the operating boats are located towards the end of the beach, next to the cliffs. If you haven’t bought return tickets, you can also buy tickets from here. You can wait for your boat to leave, while admiring the beauty of Railay Bay!
Looking for a place to stay in Krabi? Visit booking.com!
